


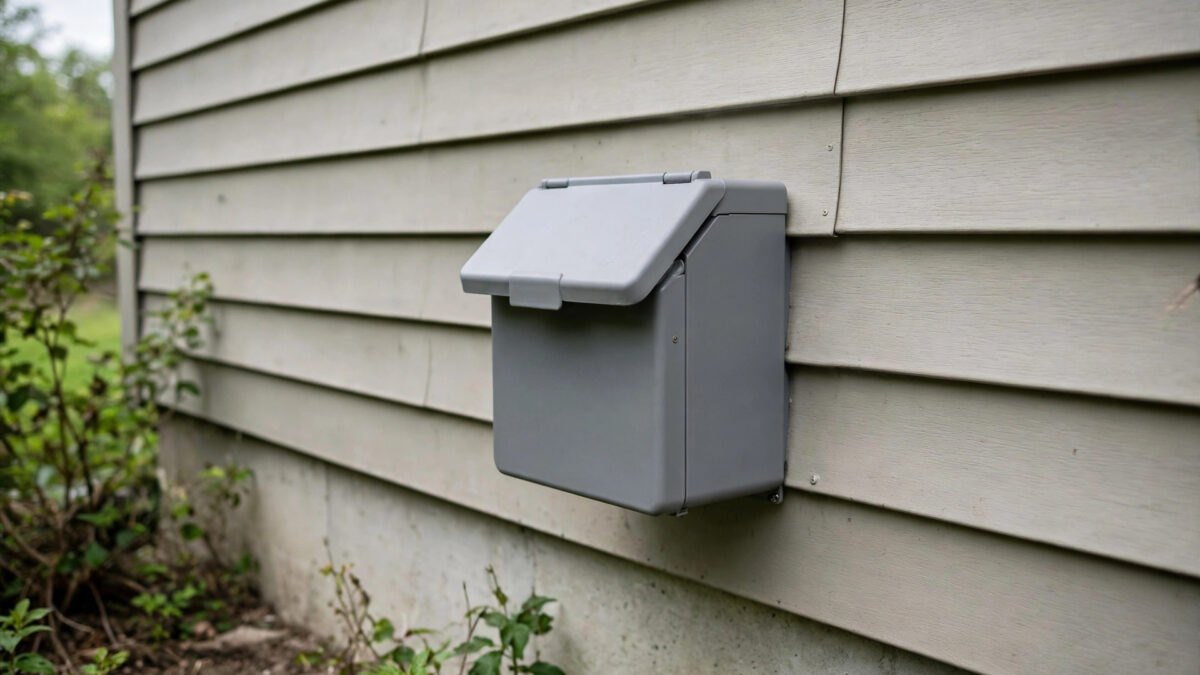
A generator inlet box is a weatherproof male receptacle mounted on the outside of your house. Your generator’s cord plugs into it; inside, it’s wired to your transfer switch or interlock breaker. It’s the safe, code-compliant alternative to running extension cords through windows — and it’s the single upgrade that makes portable-generator backup feel civilized instead of chaotic.
I’ll be straight with you up front: this guide explains what an inlet box installation involves so you can plan it, get accurate quotes, and understand what your electrician is doing. The actual panel work — landing wires on breakers, drilling your panel cover — should be done by a licensed electrician with a permit in most jurisdictions. Your homeowner’s insurance and your local inspector both care about this.
Key takeaways
- An inlet box is the exterior plug point connecting your portable generator to your home’s electrical system.
- Match the inlet amperage to your transfer switch: 30A (L14-30) for most portables, 50A (14-50) for large ones.
- Wire: 10 AWG for 30A, 6 AWG for 50A, run through conduit to the panel.
- Mount it at least 20 feet from doors, windows, and vents (CO safety), near where you’ll park the generator.
- Budget: $80–$150 for the box, $200–$500 for professional installation with permit.
- Hire a licensed electrician. This is panel work — permits and inspections apply in most areas.
What an Inlet Box Actually Is
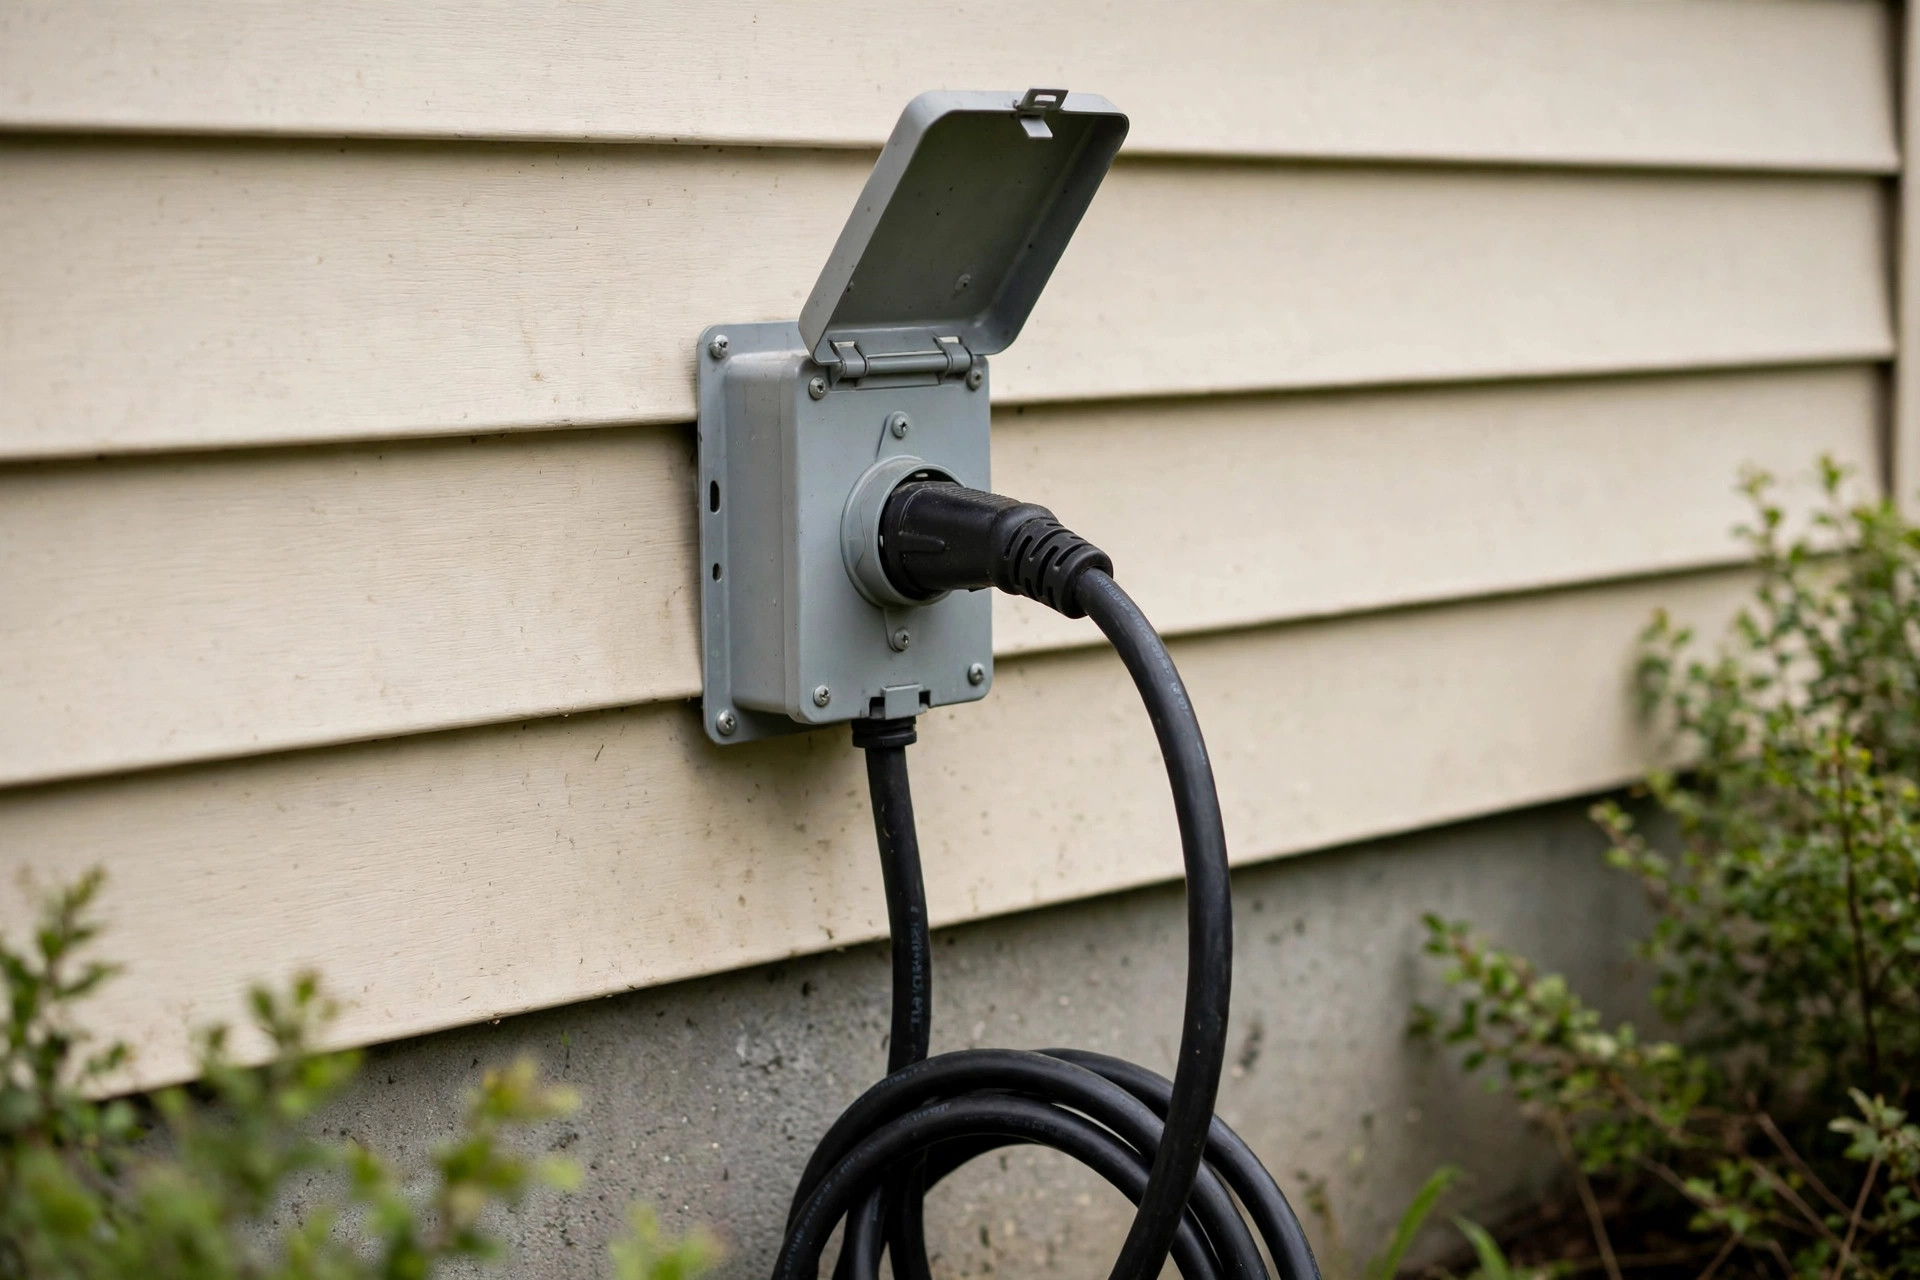
It’s a small weatherproof box — usually gray metal or plastic — with a male twist-lock receptacle inside a flip cover. You mount it on an exterior wall, typically near your electrical panel’s location. One side takes your generator cord (female end of the cord plugs into the male inlet — this is deliberate, so there are never exposed live prongs). The other side has wiring terminals that connect via conduit to your transfer switch or interlock breaker inside.
Why not just run the generator cord straight to the transfer switch? Because the cord would have to pass through a wall, window, or door — letting in weather, bugs, and exhaust-adjacent air, and creating a trip hazard. The inlet box gives you a clean, permanent, weatherproof penetration point. Plug in outside, flip switches inside. Done.
Choosing the Right Inlet Box
Amperage must match your transfer switch. This is the one rule. A 30A transfer switch gets a 30A inlet box (NEMA L14-30). A 50A switch gets a 50A inlet (NEMA 14-50 or CS6364). Mismatched components are the most common DIY mistake I see — everything in the chain (generator outlet → cord → inlet box → transfer switch) should be the same amperage.
What to look for when buying:
- UL-listed (or ETL) — non-negotiable for insurance and inspection.
- Weatherproof rating (NEMA 3R) with a proper flip cover that closes over the plugged-in cord.
- Knockouts sized for your conduit (3/4″ for 30A, 1″ for 50A is typical).
- A mounting location with a stud or solid backing — these get yanked on when cords are pulled.
Good inlet boxes run $80–$150. The cheap no-name ones on marketplace sites sometimes have undersized terminals that won’t take 10 AWG properly — spend the extra $30 on a Reliance, Connecticut Electric, or Midwest Electric box.
What the Installation Involves (The Honest Overview)
Here’s what happens during a professional install, so you know what you’re paying for:
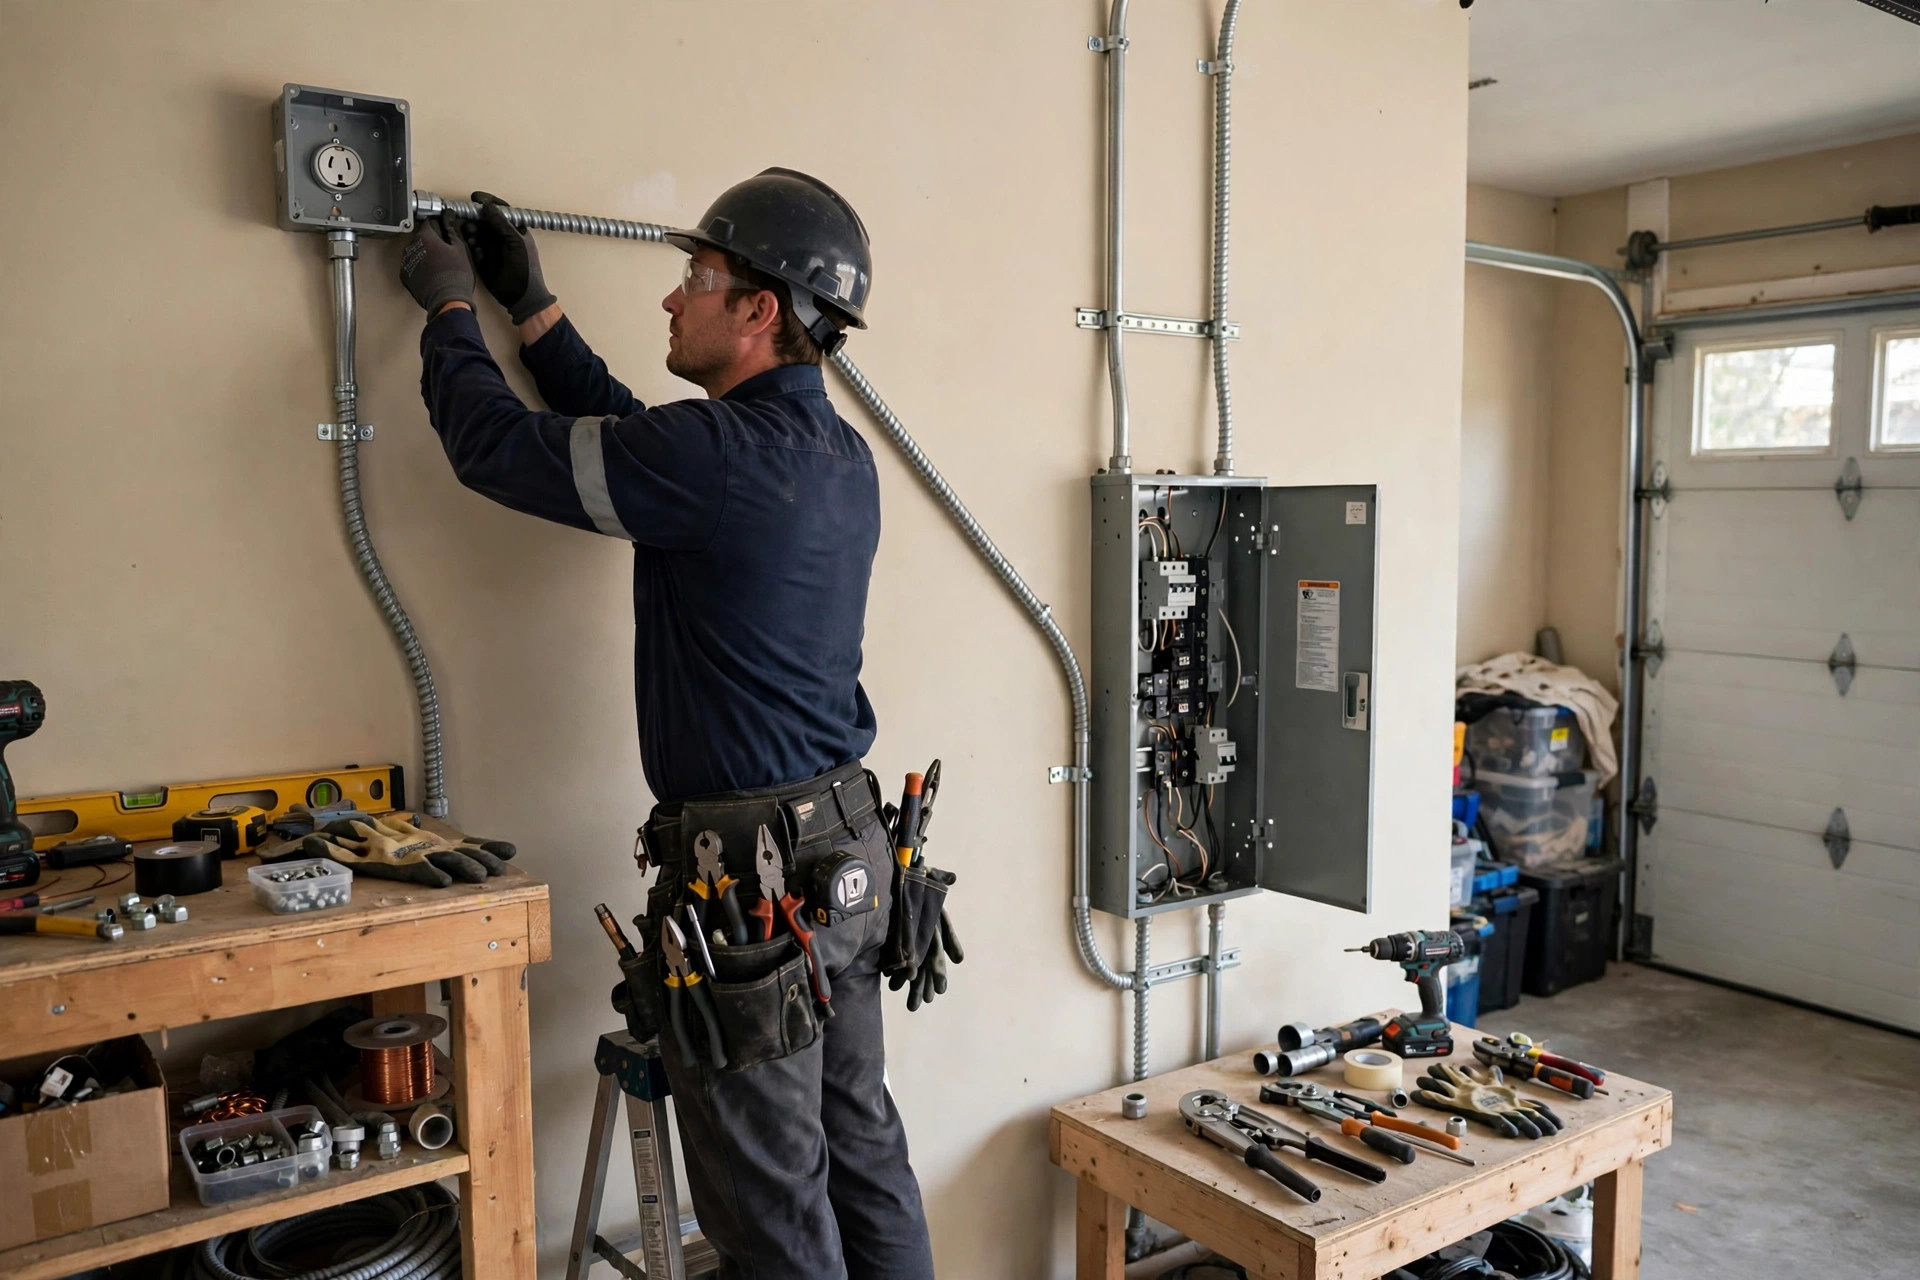
1. Location and planning. The electrician picks a spot on the exterior wall: near the panel, 20+ feet from openings, accessible for the generator cord, with a clear conduit path inside. If your panel is in a finished basement, this routing decision is half the job.
2. Mounting the box. The inlet box is secured to the wall (into a stud or with proper anchors), positioned so the flip cover opens fully and the cord hangs without strain.
3. Running conduit and wire. Conduit runs from the inlet box to the transfer switch or panel. Wire sizing: 10 AWG copper for 30A (hot-hot-neutral-ground = 4 wires), 6 AWG copper for 50A. The ground wire bonds per NEC — your electrician handles the details.
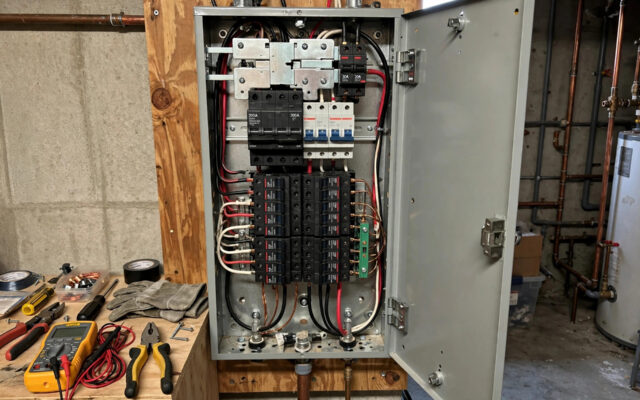
4. Terminating at the transfer switch or interlock breaker. The inlet wiring lands on the transfer switch’s generator input lugs, or on the dedicated generator breaker if you’re using an interlock kit. The generator breaker gets a retainer clip (required by NEC 408.36(D) for backfed breakers) so it can’t vibrate loose.
5. Labeling and testing. Everything gets labeled, the system is tested under load, and the inspector signs off. A proper install includes a “GENERATOR INLET” label at the box and clear operating instructions at the panel.
Cost Breakdown
| Item | Typical cost |
|---|---|
| Inlet box (30A, UL-listed) | $80–$150 |
| Generator cord (25 ft, 30A) | $60–$100 |
| Wire, conduit, fittings | $40–$100 |
| Electrician labor (2–4 hrs) | $200–$400 |
| Permit/inspection | $50–$150 |
| Total, professionally installed | $400–$900 |
If you’re already having a transfer switch installed, adding the inlet box at the same time usually adds $150–$300 to the job — the electrician is already there, the panel is already open, and it’s one permit. Always do them together if you can.
Inlet Box vs. Through-Wall Kits
You’ll sometimes see “through-wall” generator kits — a short length of pre-wired cable with an inlet on the outside and a plug on the inside, meant to pass through a single wall. They’re cheaper and faster than a proper inlet box + conduit run, and for a detached garage or shed setup they can be fine.
For a house, I prefer a real inlet box with conduit. Through-wall kits only work where the panel is directly on the other side of the wall, the cable length is fixed, and the weatherproofing depends entirely on one gasket. A proper inlet box can be placed for the best generator parking spot, the conduit run can go anywhere, and every penetration is sealed with real fittings. It’s $100–$200 more for a meaningfully better installation.
Maintaining Your Inlet Box
Almost nothing — but “almost” matters. Once a year, open the flip cover and look inside: check for insect nests (wasps love these boxes), corrosion on the terminals, and cracks in the cover gasket. Spray the receptacle contacts with electrical contact cleaner if they look dull. If the flip cover’s spring breaks and the cover hangs open, replace the cover — an open inlet box fills with rain, and the next time you plug in during a storm, you’ll discover what water and 240V do together. Ask me how I know. Actually, don’t.
Common Mistakes to Avoid
Mounting it too close to a window or door. The 20-foot rule applies to the generator, and the inlet box determines where the generator parks. Put the box on a wall section with no openings nearby.
Undersized wire. Voltage drop matters on long runs. For runs over ~75 feet at 30A, your electrician may upsize to 8 AWG. Trust them on this — it’s a calculation, not a guess.
No drip loop / poor weatherproofing. The conduit entry needs proper sealing. Water in the box corrodes terminals and can trip GFCIs. A good installer seals penetrations with silicone and uses weatherproof fittings throughout.
Forgetting the cord. The inlet box is useless without a generator cord of matching amperage. Buy the cord when you buy the box — L14-30 cord for a 30A inlet. Keep it coiled near the panel, not buried in the garage.
What is a generator inlet box?
What size inlet box do I need?
How much does it cost to install a generator inlet box?
Can I install a generator inlet box myself?
Where should a generator inlet box be installed?
An inlet box is one of those unglamorous upgrades that changes how backup power feels — from a scramble of extension cords to a two-minute routine: roll out the generator, plug in, flip the switch. Pair it with a properly sized transfer switch and the right manual or automatic setup for your situation, and you’re genuinely prepared instead of hopefully prepared.

Related Guides
Do You Need a Panel Upgrade for a Generator? (2027 Guide)
Do you need a panel upgrade for a generator? Usually not — an interlock kit and two free breaker spaces handle a portable. Here is when an upgrade is truly required.

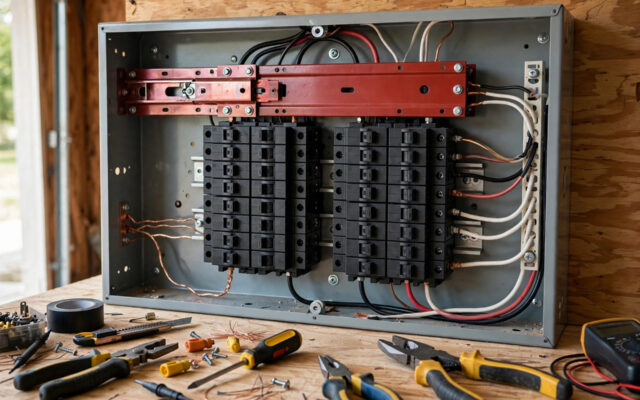
Transfer Switch vs Interlock Kit: Which Is Better in 2027?
Transfer switch vs interlock kit: both legally connect a generator to your house. Compare costs ($400–$1,300 vs $400–$850), flexibility, ease of use, and code rules.
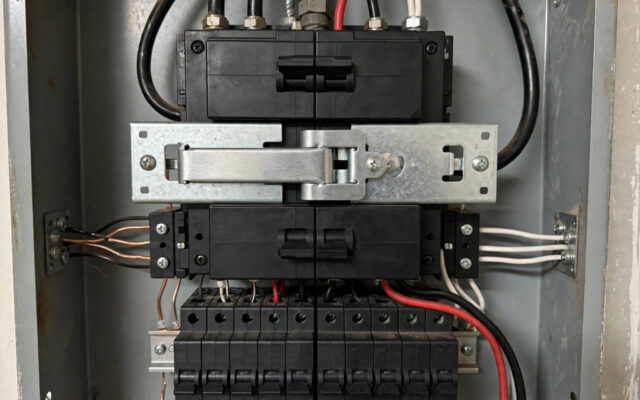
How to Install a Generator Interlock Kit (Step-by-Step)
Install a generator interlock kit in 45-90 minutes: $50-$150 kit, 7 steps, panel safety warnings, and when to hire an electrician instead.