


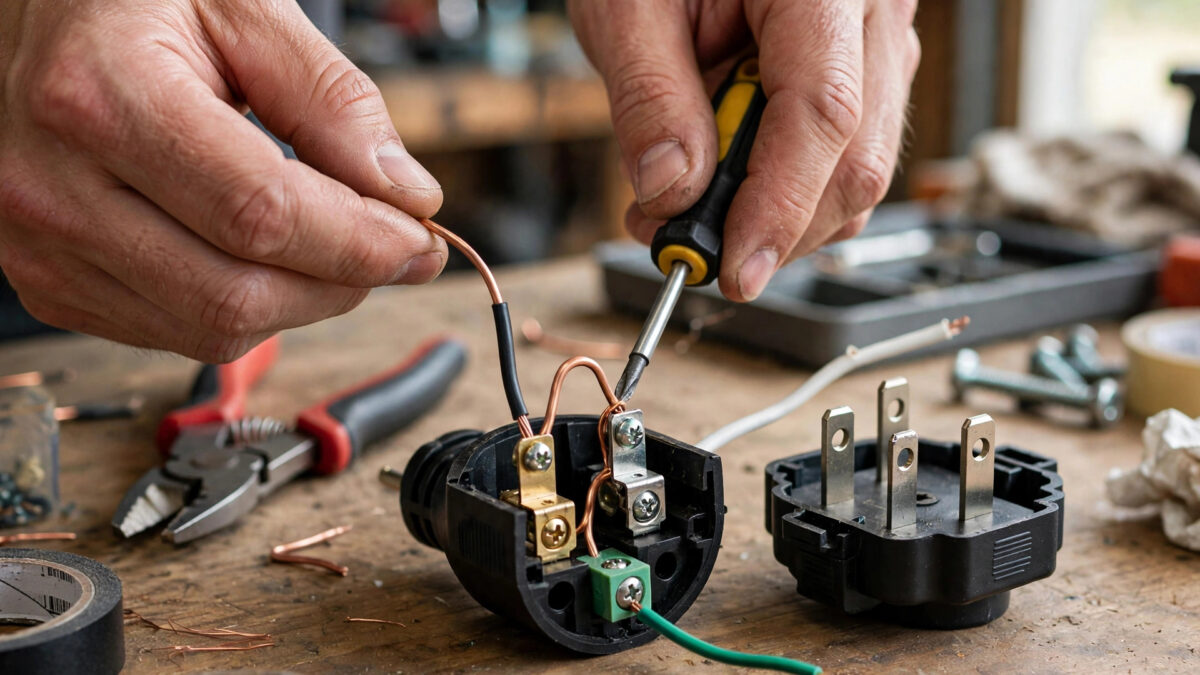
If your floating-neutral generator trips every GFCI the moment you hook it to your house, or your RV surge protector flashes an “open ground” error and refuses to pass power, the fix might be a $5 plug you build in ten minutes. A neutral bonding plug — sometimes called a bonding dongle — creates the neutral-to-ground bond your generator is missing, right at one of its 120V outlets.
I built my first one after a frustrating evening during an outage: my transfer switch was wired correctly, the generator ran fine, but the GFCI breaker on the generator’s own panel tripped the instant I closed the switch. One jumper wire inside a spare plug, ten minutes of work, and the problem was gone. Here is exactly what it is, when to use it, and how to build one safely.
Key takeaways
- A neutral bonding plug connects neutral to ground (silver screw to green screw) inside a standard 15A plug, with the hot terminal left empty.
- It fixes the most common floating-neutral headaches: GFCI trips when connected to a house transfer switch, RV EMS “open ground” faults, and surge protectors that will not pass power.
- Use it only on floating-neutral generators connected to a house or RV panel that has its own bond downstream — never as a substitute for proper wiring.
- Remove the plug (or understand you now have a bonded generator) when using the generator standalone with cord-and-plug tools.
What a bonding plug actually does
Every electrical system needs exactly one place where the neutral wire connects to ground — the “bond.” Your house panel has one. Many small inverter generators (Honda EU2200i, most 2,000-watt-class units) ship with a floating neutral: no internal connection between neutral and the frame.
That is fine for running a drill off an extension cord. It becomes a problem when you connect the generator to a house through a transfer switch or to an RV with an electrical management system (EMS). The house panel’s bond is still there, but between the generator and the panel there is now effectively no bond at the source — or worse, a confusing half-bonded situation. GFCI breakers, which watch for current imbalance between hot and neutral, see current taking unexpected paths and trip. RV surge protectors see an “open ground” and refuse to connect. Everything looks broken, but the generator is fine — it is just missing a bond.
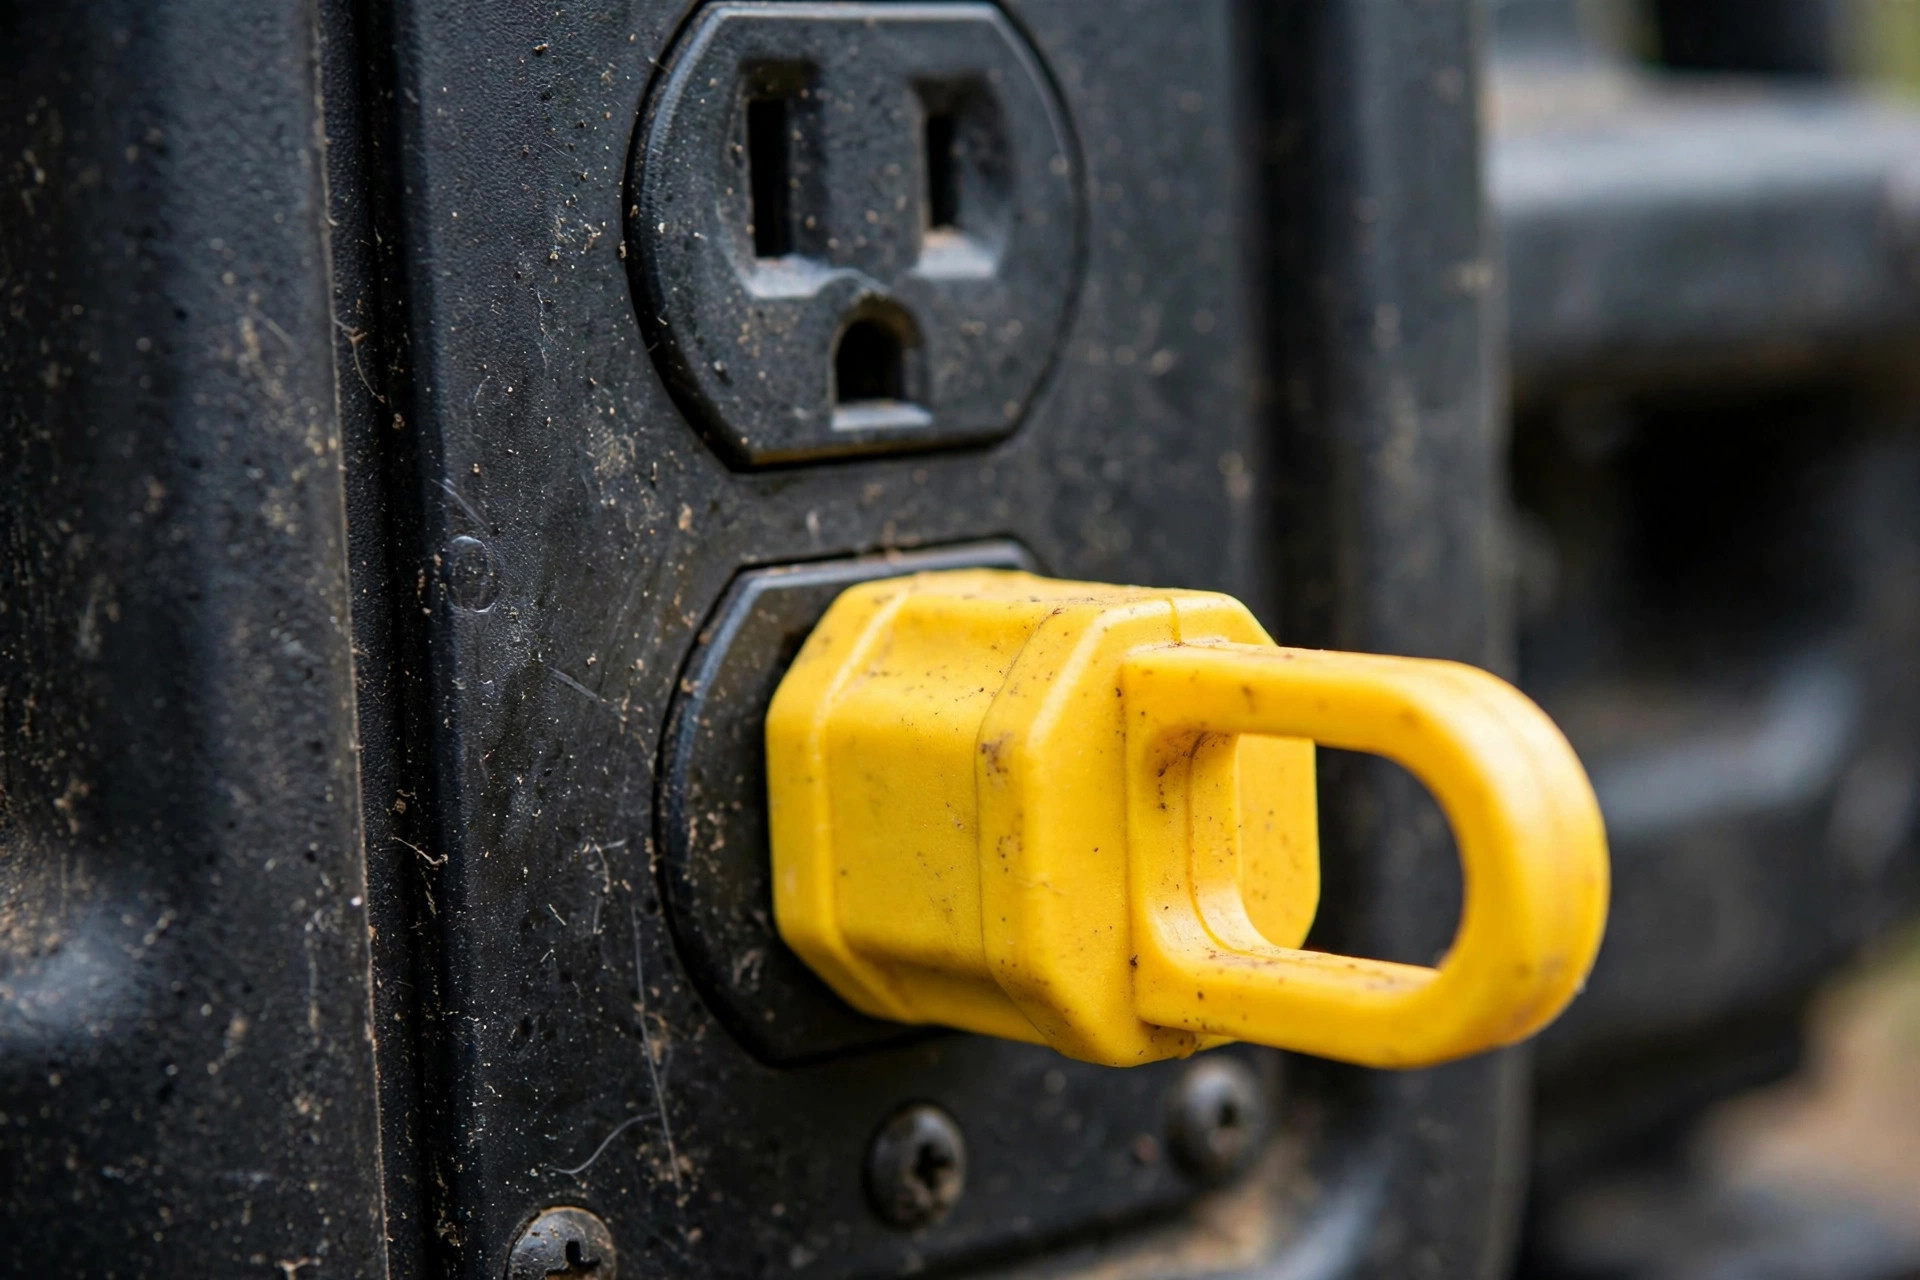
The bonding plug creates that bond at the generator: a jumper from the neutral blade to the ground pin inside a plug you insert into any 120V outlet on the generator. Electrically, the whole generator becomes bonded-neutral while the plug is in. Pull it out, and you are back to floating.
What you need
- A standard 15-amp, 125V replacement plug (the kind with a screw-together housing — about $4 at any hardware store)
- 4 inches of bare or green-insulated #12 copper wire
- A small screwdriver and wire strippers
- A multimeter (to verify your generator is actually floating-neutral before you start)
Total cost: under $5, and you probably have the wire in a junk drawer already.
Step-by-step build
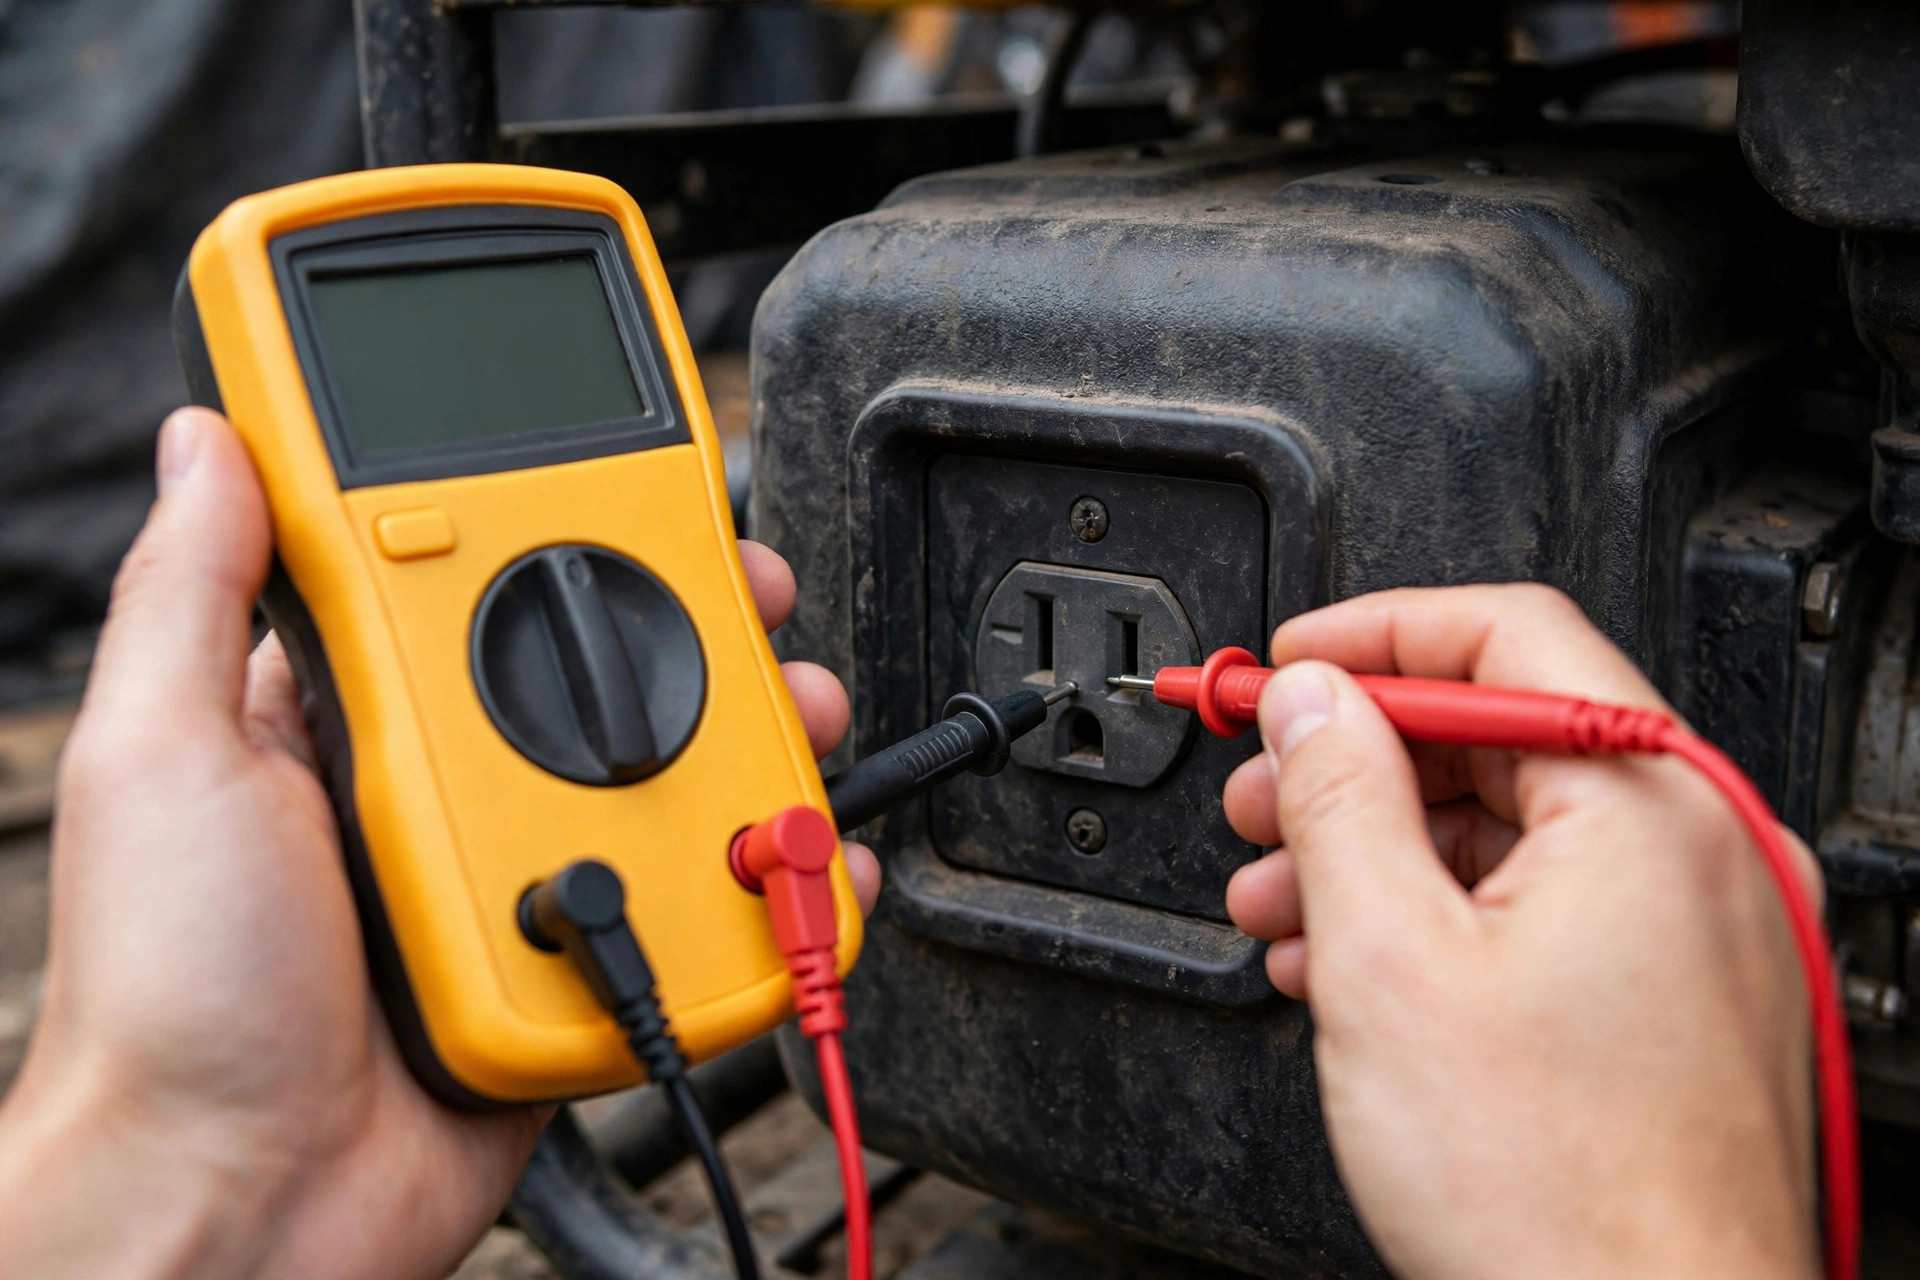
- Verify floating neutral first. With the generator off and cool, set your multimeter to continuity and touch one probe to the neutral slot (the wider slot) of a 120V outlet and the other to the generator’s ground lug or frame. No continuity (no beep) means floating neutral — this plug is for you. If you get continuity, your generator is already bonded and you do not need this plug.
- Open the replacement plug. Unscrew the housing. You will see three terminals: silver (neutral, wider blade), brass/copper (hot, narrower blade), and green (ground, round pin).
- Cut a 3–4 inch jumper of #12 wire and strip both ends.
- Connect one end to the silver (neutral) screw and the other to the green (ground) screw. Tighten both firmly.
- Leave the brass (hot) screw completely empty. No wire, nothing connected. This is critical — the plug must not feed power anywhere; it only creates the bond.
- Close the housing and label it. I wrote “BONDING PLUG — NEUTRAL TO GROUND” on mine with a paint marker. You do not want this mixed up with a normal plug.
- With the generator running, insert the plug into any 120V outlet. That is it. The bond is now active.
To confirm it worked, check continuity again from a different outlet’s neutral slot to the frame — you should now get a beep. Your transfer-switch GFCI should hold, and your RV EMS should show a normal ground.
When to plug it in — and when to pull it out
| Scenario | Bonding plug? | Why |
|---|---|---|
| Floating-neutral generator → house via 2-pole transfer switch (solid neutral) | Yes | Creates the single required bond at the source; stops GFCI trips |
| Floating-neutral generator → RV with EMS/surge protector | Yes | Clears “open ground” faults so the EMS passes power |
| Floating-neutral generator, extension cords to tools only | No | Floating is fine and arguably safer for pure cord-and-plug use; no bond needed |
| Already bonded-neutral generator, any use | No — never | Would create a second bond and ground-loop problems |
| Generator → house via 3-pole (switched-neutral) transfer switch | Usually not needed | The switched neutral makes the generator a separately derived system with its own bond and grounding electrode |
The practical rule I follow: the bonding plug lives in my generator’s accessory pouch. It goes in when the generator connects to the house inlet, and comes out when the generator goes back to standalone duty. I check it every time — it takes five seconds and prevents the double-bond headache.
The alternative: unbond the generator properly
A bonding plug is a field fix. The “proper” solution, if you permanently connect one generator to your house, is to have an electrician set the bonding to match your transfer switch — which usually means removing the factory bond on a bonded generator (so the house panel’s bond is the only one), not adding one. Several manufacturers publish step-by-step bulletins for this; Champion’s takes about nine minutes with basic hand tools.
Which direction you go depends on your setup. If your generator is floating and your transfer switch keeps the neutral solid, the plug (or a permanent jumper an electrician installs) is the answer. If your generator is bonded and the switch keeps the neutral solid, you need to remove a bond, not add one — and that is electrician territory, since the bond is inside the alternator housing. Our bonded vs. floating neutral guide walks through both directions in detail, and our grounding rod guide covers when a house-connected generator needs its own grounding electrode.
Is a neutral bonding plug safe?
Will a bonding plug stop my generator GFCI from tripping?
Can I leave the bonding plug in all the time?
Does a bonding plug work on 240V generators?
My generator manual says nothing about bonding. What do I do?
A neutral bonding plug is one of those $5 fixes that feels like cheating the first time it works. Build one, label it clearly, keep it with the generator, and the floating-neutral gremlins — the mystery trips, the EMS errors, the surge protector that hates your generator — mostly disappear.
How we researched this: Manufacturer neutral-bonding technical bulletins, NEC Article 250 bonding requirements, electrician forum discussions on transfer-switch GFCI issues, and hands-on builds and testing.

Related Guides
Why Does My Generator Backfire? Causes and Fixes (2027)
Why does your generator backfire? An exhaust bang means unburned fuel in the muffler; a pop through the carb means lean mixture or valve trouble. Here are the fixes.


Generator Valve Adjustment: How to Set Valve Lash (2027 Guide)
Generator valve adjustment: 0.006" intake, 0.008" exhaust on Honda GX engines. Tools, TDC procedure, and symptoms of bad valve lash explained.

How to Clean and Replace a Generator Air Filter (2027 Guide)
How to clean a generator air filter: wash foam filters in soapy water and re-oil; tap out paper filters, never wash them. Full steps inside.