


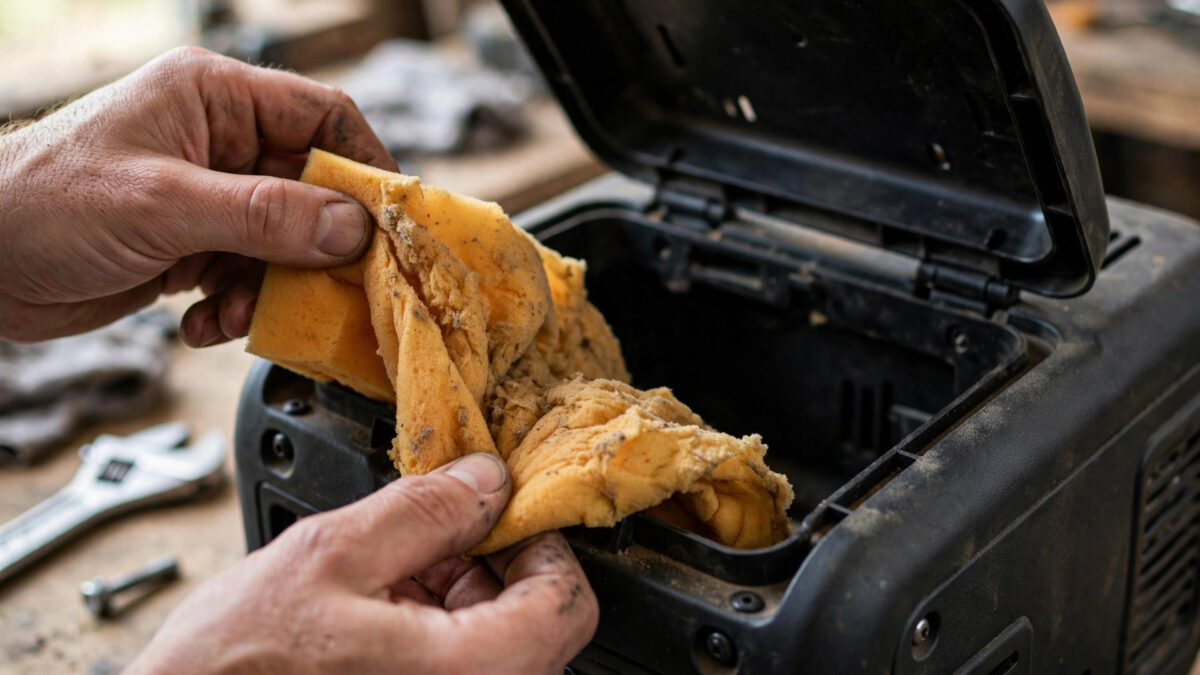
Cleaning a generator air filter takes about ten minutes and costs nothing — but a clogged one will make your generator hard to start, surge under load, and drink extra fuel. Here’s exactly how to clean both types: foam filters get washed in soapy water and re-oiled; paper filters get tapped and brushed out, never washed. Replace either type at least once a year or every 100 operating hours, whichever comes first.
I check the air filter every time I do an oil change. It’s the single most neglected maintenance item I see on portable generators, and it’s also the easiest fix. A filter caked in dust and grass clippings is effectively choking your engine — cleaning it often feels like getting a new generator.
Key takeaways
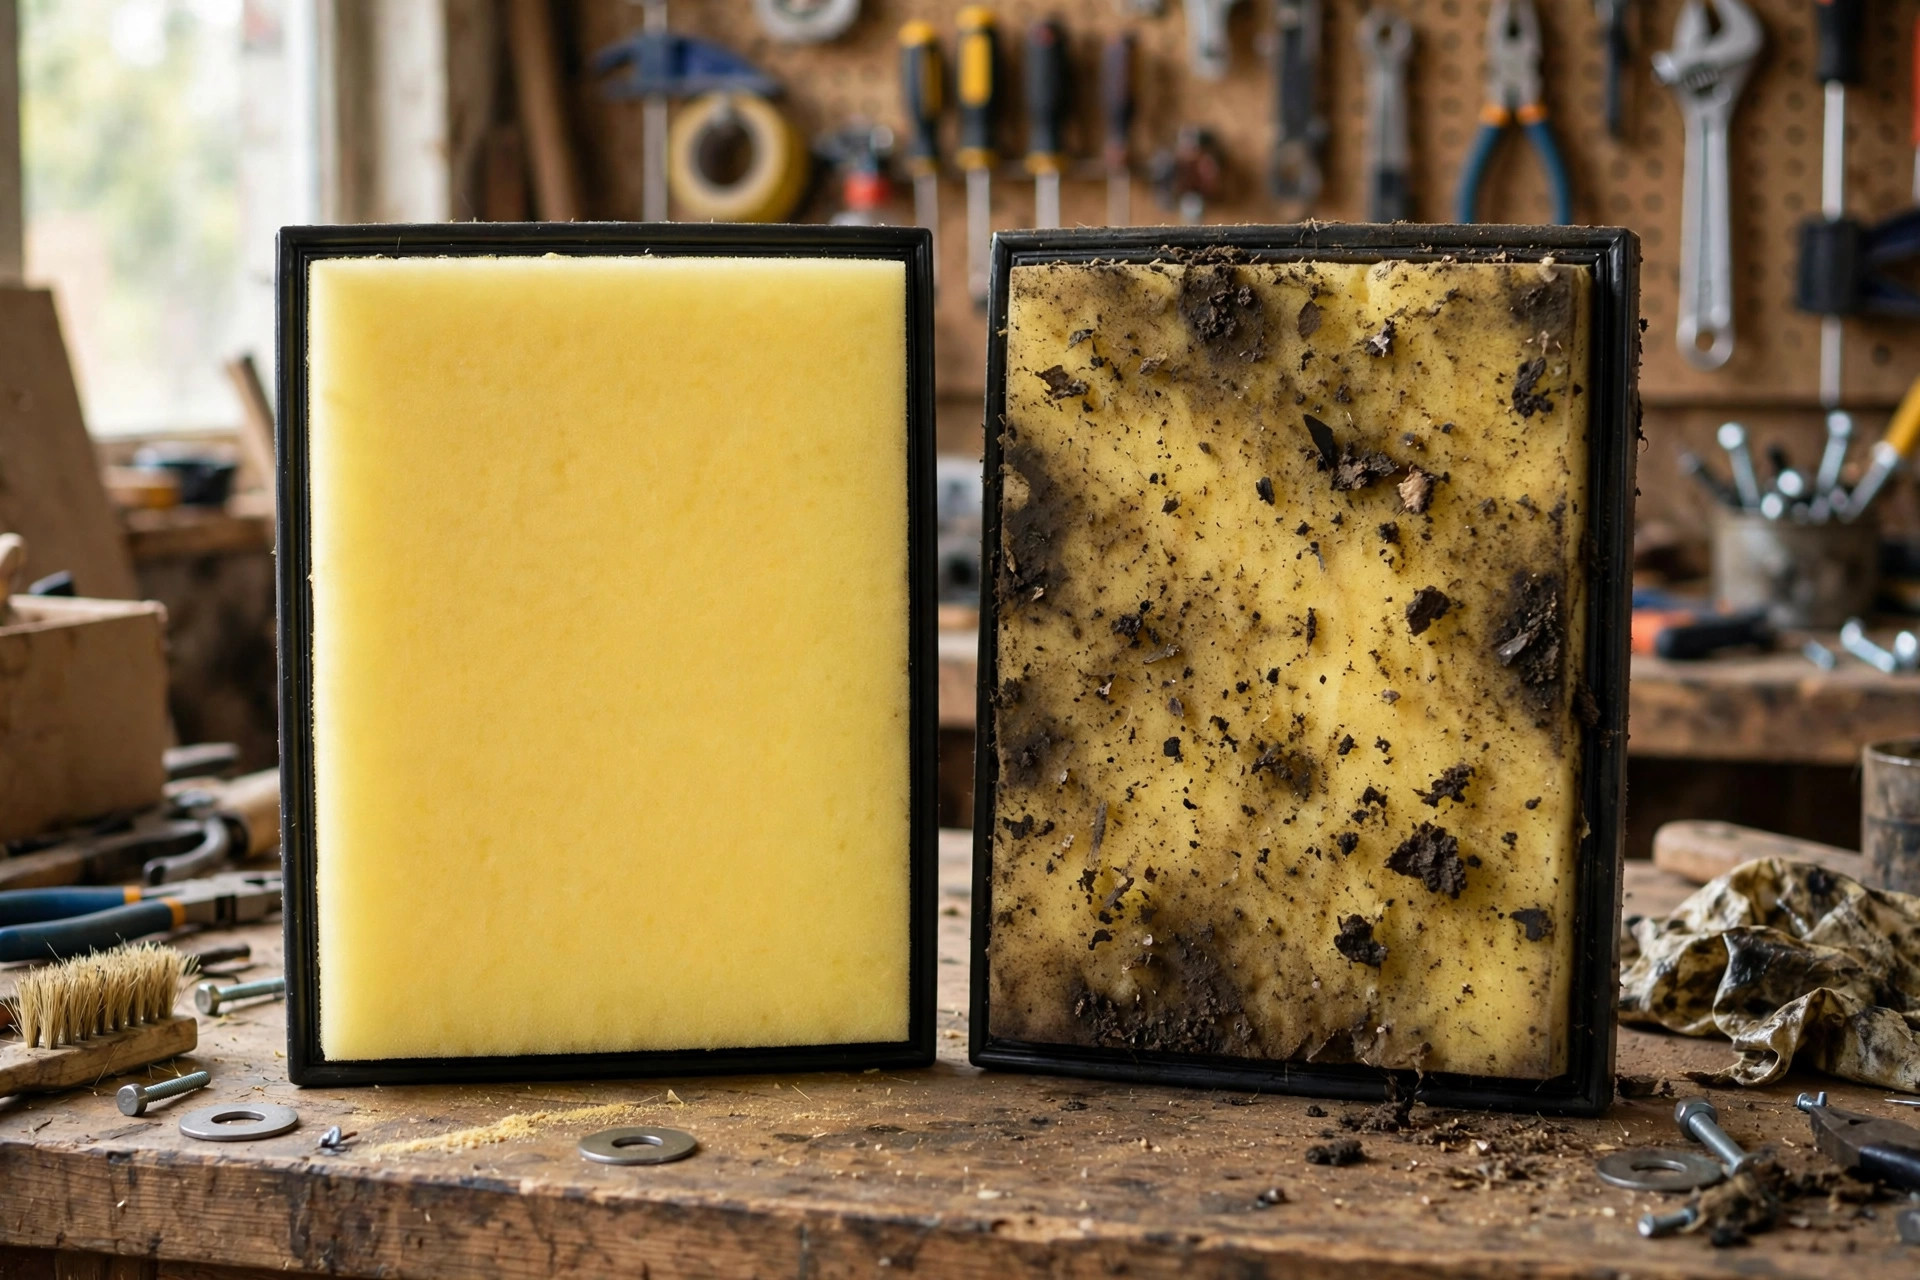
- Foam filters: wash in warm soapy water, air-dry completely, apply a light coat of clean engine oil, squeeze out the excess.
- Paper filters: tap gently against a hard surface and brush off dust — never wash, soak, or oil a paper element.
- Inspect the filter every 25 hours of use (more often in dusty conditions); replace yearly or every 100 hours.
- Symptoms of a clogged filter: hard starting, surging, black exhaust smoke, loss of power, and higher fuel consumption.
- Keep a spare filter on hand — they’re cheap ($8-15) and a swap takes two minutes during an outage.
First: figure out which filter you have
Pop the air filter cover off your generator (usually one or two screws or a plastic clip). You’ll find one of these:
- Foam element — a spongy rectangular or cylindrical piece of foam, often with a light oil coating. Common on Honda GX-style engines and many inverter generators.
- Paper element — pleated paper like a tiny car air filter, sometimes with a thin foam pre-cleaner wrapped around it.
- Dual-element — a foam pre-cleaner over a paper inner element. Service the foam regularly; replace the paper when it gets dark or damaged.
Your owner’s manual names the exact part. If you don’t have the manual, the engine model number (stamped on the block) plus “air filter” in a search will find it.
How to clean a foam air filter
Foam filters are designed to be cleaned and reused. Here’s my routine:
Step 1: Remove and inspect
Take the foam element out of the housing. If it’s torn, crumbling, or won’t hold its shape, skip cleaning — replace it. Foam is cheap; a disintegrating filter can shed pieces into the carburetor.
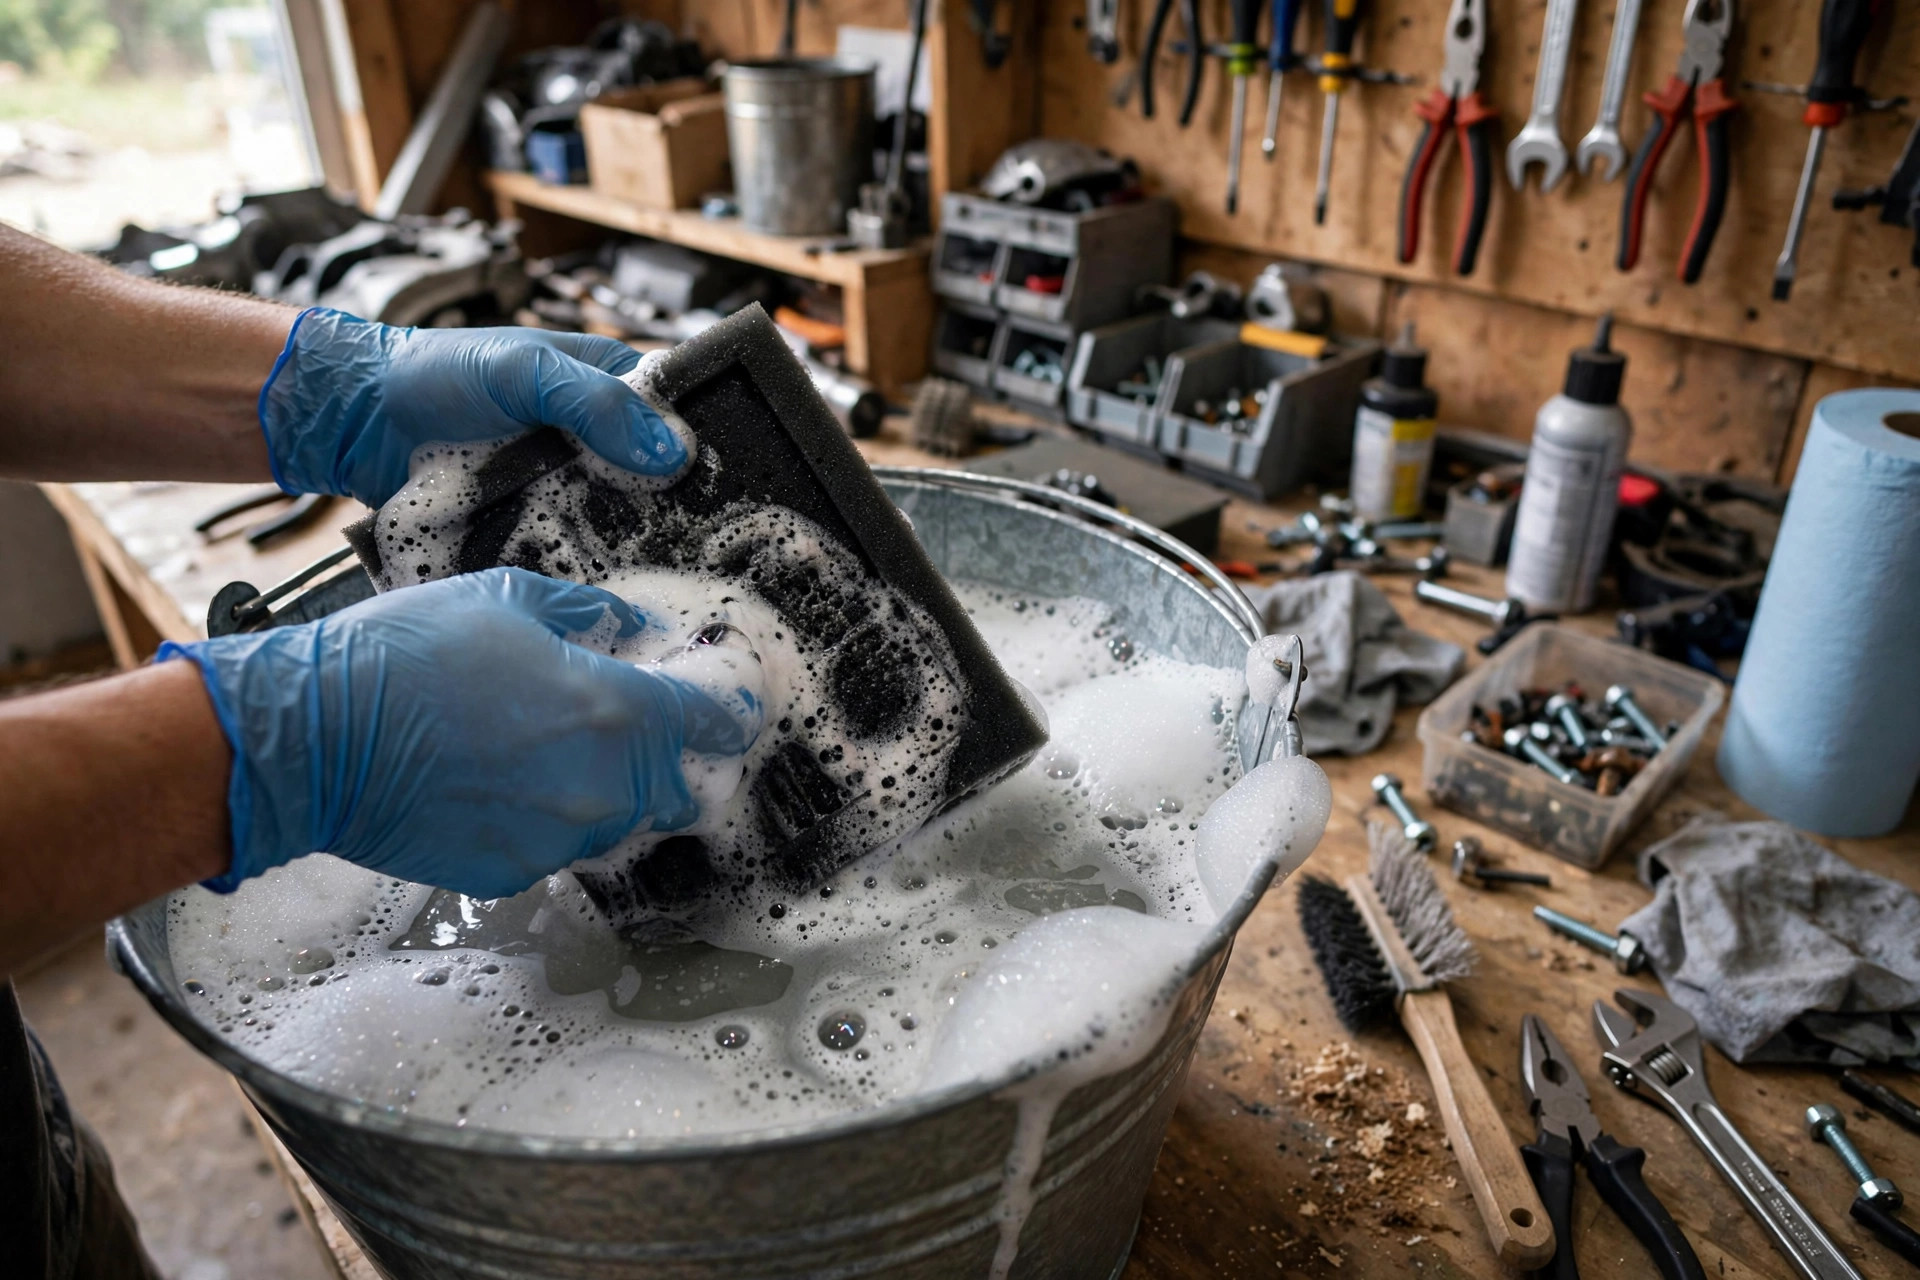
Step 2: Wash in warm, soapy water
Fill a bucket or sink with warm water and a squirt of dish soap. Work the filter in the water, squeezing gently (don’t wring or twist it — that tears the foam). Keep going until the water runs clear. For really grimy filters, a second wash helps.
Step 3: Rinse and dry completely
Rinse thoroughly under clean water, then squeeze out as much water as possible and let it air-dry fully. This is the step people rush. A damp filter restricts airflow almost as badly as a dirty one, and oil won’t distribute evenly on wet foam. Give it a few hours in the sun or overnight indoors.
Step 4: Re-oil lightly
Here’s the part that feels wrong the first time: you oil the filter on purpose. Pour a tablespoon or two of clean engine oil (or dedicated foam filter oil) onto the foam and massage it through evenly. Then — and this matters — squeeze out all the excess. The foam should feel tacky, not dripping. Too much oil chokes airflow and can foul the spark plug; too little lets dust through.
Step 5: Reinstall
Seat the foam in the housing, make sure the cover seals properly with no gaps, and you’re done.
How to clean a paper air filter
Paper elements are not washable. Water destroys the paper fibers, and oil clogs the pores. The correct method:
- Tap it out. Hold the filter with the pleats facing down and tap it firmly against a hard surface (a workbench, a tire). You’ll be amazed how much dust falls out.
- Brush the pleats. Use a soft brush to sweep dust from between the pleats, working from the clean side outward.
- Blow it out (optional). If you have an air compressor, blow from the inside out at low pressure — under 30 PSI. High pressure tears the paper. Wear a dust mask.
- Hold it to the light. If you can see light through the pleats, the filter still has life. If it’s dark, oily, or you can’t see light through it, replace it.
Paper filters are consumables. Budget $8-15 for a replacement and just swap it yearly. Trying to nurse a dead paper filter along is false economy — restricted airflow costs you more in fuel and engine wear than the filter costs.
How often should you clean or replace it?
The manual typically says inspect every 25 hours and replace every 100 hours or annually. Real-world answer: it depends entirely on conditions.
| Use case | Inspect | Clean/replace |
|---|---|---|
| Emergency backup, garage-kept | Before each use | Clean yearly; replace every 2 years |
| Jobsite / construction dust | Daily | Clean weekly; replace every 100 hours |
| Camping / tailgating | Each trip | Clean as needed; replace yearly |
| Farm / dusty rural use | Weekly | Clean every 25 hours; replace yearly |
Dusty environments are the killer. A generator running at a construction site can clog a filter in a single long weekend. If your generator starts surging or losing power under load, the air filter is the first thing to check — before you touch the carburetor.
Symptoms of a clogged air filter
Learn to recognize these, because a dirty filter mimics more expensive problems:
- Hard starting — the engine cranks but won’t catch, or needs excessive choke
- Surging/hunting — RPM rises and falls rhythmically under load
- Black exhaust smoke — too little air makes the mixture rich; unburned fuel exits as black smoke
- Power loss — trips the overload on loads it used to handle
- Higher fuel consumption — a choked engine burns more fuel for the same work
- Fouled spark plug — the rich mixture leaves black, sooty deposits on the plug
If you’re chasing a surging problem, check the filter first, then look at the spark plug, then the carburetor — in that order. Nine times out of ten it’s one of the first two.
Make it part of your tune-up routine
Air filter service pairs naturally with an oil change. Every time I change the oil, I also pull the filter, pull the spark plug, check the valve clearance once a year, and give the cooling fins a brush-off. The whole tune-up takes 20 minutes and costs under $20 in parts. If you want the full routine, see our guide on how to change your generator’s oil — same tools, same afternoon.
One last thing: buy OEM or quality aftermarket filters. The $4 no-name filter with sloppy pleats and a warped frame doesn’t seal properly, and unfiltered air sneaking around the edges defeats the whole purpose. Stick with the manufacturer’s part number or a reputable brand.
Can you wash a generator air filter?
What oil do you use on a foam air filter?
How often should a generator air filter be replaced?
Will a dirty air filter make my generator surge?
Can I run my generator without an air filter temporarily?
That’s the whole job: wash the foam or tap out the paper, keep a spare, and check it before every storm season. Ten minutes of filter maintenance prevents the two most annoying generator problems — hard starting and surging — and costs less than a pizza.

Related Guides
Why Does My Generator Backfire? Causes and Fixes (2027)
Why does your generator backfire? An exhaust bang means unburned fuel in the muffler; a pop through the carb means lean mixture or valve trouble. Here are the fixes.

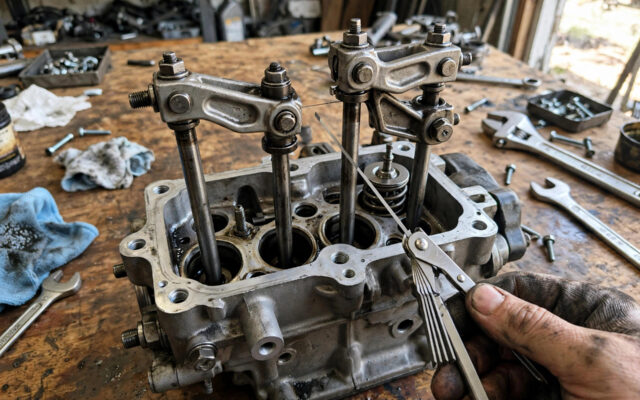
Generator Valve Adjustment: How to Set Valve Lash (2027 Guide)
Generator valve adjustment: 0.006" intake, 0.008" exhaust on Honda GX engines. Tools, TDC procedure, and symptoms of bad valve lash explained.
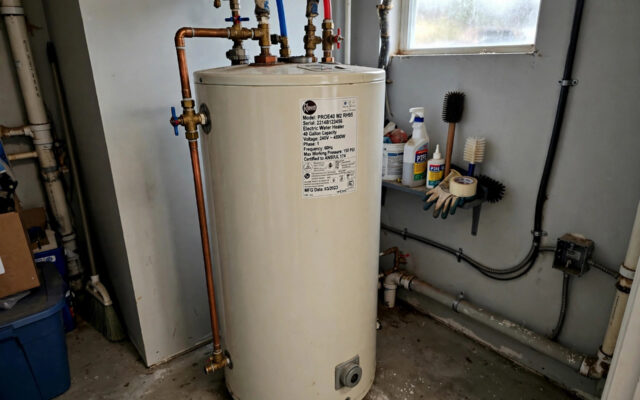
What Size Generator Do You Need for an Electric Water Heater?
A 4,500W electric water heater needs a 5,500–6,500W generator minimum — and most owners skip it. The 125% rule, why the tank coasts, and smarter alternatives.