


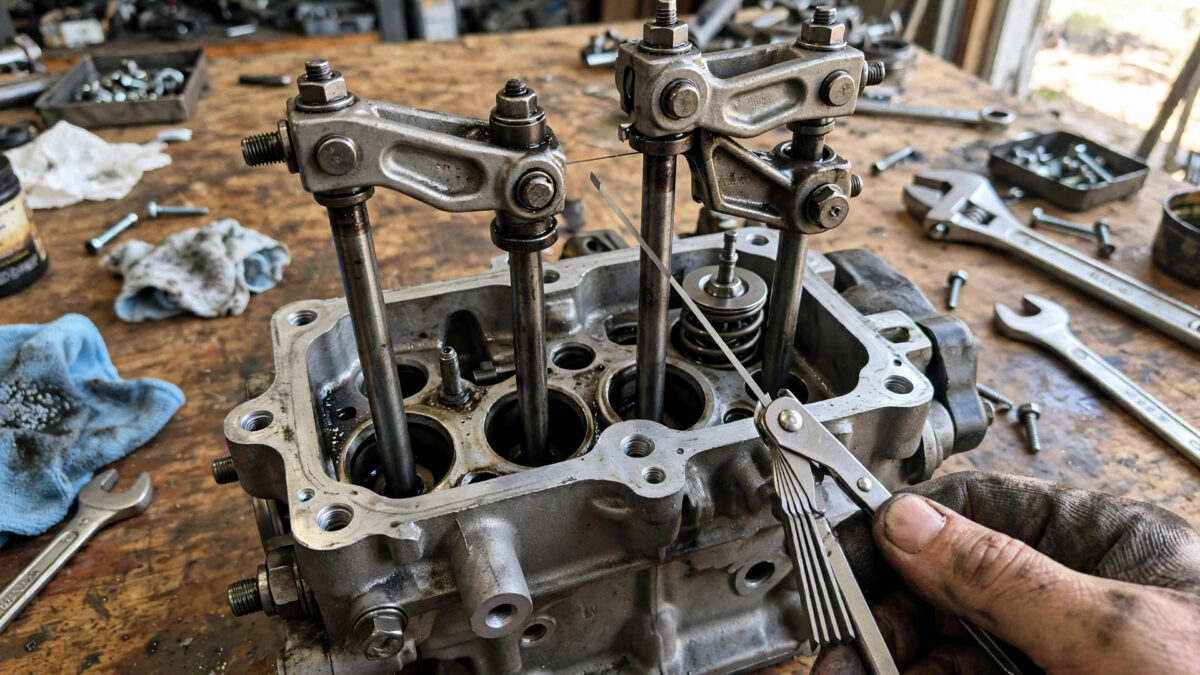
Valve lash — the tiny gap between the rocker arm and the valve stem — drifts out of spec as your generator’s engine wears. When it does, you’ll get hard starting, power loss, backfiring, or a loud ticking from the valve cover. The fix is a 30-minute job with a $10 feeler gauge set: set the engine to top dead center on the compression stroke, measure the gap, and adjust to spec. For the Honda GX-series engines (and their clones) found in most portable generators, that’s 0.006″ (0.15 mm) intake and 0.008″ (0.20 mm) exhaust, measured cold.
I’ll be honest: this is the most intimidating maintenance job on a small engine, and it shouldn’t be. There’s no magic to it — just a gap you measure and set. I’ve done it on a tailgate with basic hand tools. If you can change your own oil, you can do this.
Key takeaways
- Most generator engines (Honda GX120/160/200/270/390 and clones): 0.006″ intake, 0.008″ exhaust, measured with the engine cold — always confirm in your manual.
- Set the piston to top dead center (TDC) on the compression stroke, where both valves are fully closed and the rocker arms feel loose.
- Symptoms of bad lash: hard starting, backfiring through the carb or exhaust, ticking noise, loss of power, and surging.
- Tight valves are more dangerous than loose ones — a valve that can’t fully close burns its seat and loses compression.
- Check valve clearance every 100 hours or once a year; the whole job takes 20-40 minutes.
What valve lash is and why it matters
Inside your generator’s engine, the camshaft pushes rocker arms that open the intake and exhaust valves. Metal expands when hot, so the factory builds in a small gap — the lash — between the rocker arm and the valve stem. That gap closes up as the engine warms.
Over hundreds of hours, valve seats wear and the gap changes. Two failure modes:
- Too tight (no gap): The valve can’t fully close. Compression leaks, the engine is hard to start, and the exhaust valve overheats because it can’t shed heat into the seat. A burned exhaust valve is an expensive repair. This is the dangerous direction.
- Too loose (big gap): The valves open late and not fully. You get a loud ticking or clattering from the valve cover, reduced power, and sometimes backfiring. Annoying but less destructive.
Most generators drift toward tight over time as the valve seats wear — which is exactly why this check matters even when the engine “sounds fine.”
Valve lash specs for common generator engines
Always check your owner’s manual first — but these cover the vast majority of portable generators, since most use Honda GX-pattern engines or direct clones (Predator, Lifan, Loncin, and the engines in most Champion, Westinghouse, and Duromax units):
| Engine family | Intake clearance (cold) | Exhaust clearance (cold) |
|---|---|---|
| Honda GX120 / GX160 / GX200 | 0.006″ (0.15 mm) | 0.008″ (0.20 mm) |
| Honda GX240 / GX270 / GX340 / GX390 | 0.006″ (0.15 mm) | 0.008″ (0.20 mm) |
| Honda-clone engines (Predator, Lifan, etc.) | 0.006″ (0.15 mm) | 0.008″ (0.20 mm) |
The exhaust spec is larger because the exhaust valve runs much hotter and expands more. A quick memory aid: intake 6, exhaust 8 (thousandths of an inch). Which valve is which? The exhaust valve sits nearest the muffler; the intake valve sits nearest the carburetor.
Tools you’ll need
- Feeler gauge set (the thin blade type, $8-12 — you need 0.006″ and 0.008″ blades)
- 10mm wrench or socket (valve cover bolts on most GX-pattern engines)
- Small wrench for the rocker lock nut (usually 10mm) and a flat screwdriver or the adjusting screw tool
- Spark plug wrench (to remove the plug — makes turning the engine over much easier)
- Rags and a little fresh oil for the valve cover gasket
Step-by-step: setting valve lash
Step 1: Remove the valve cover
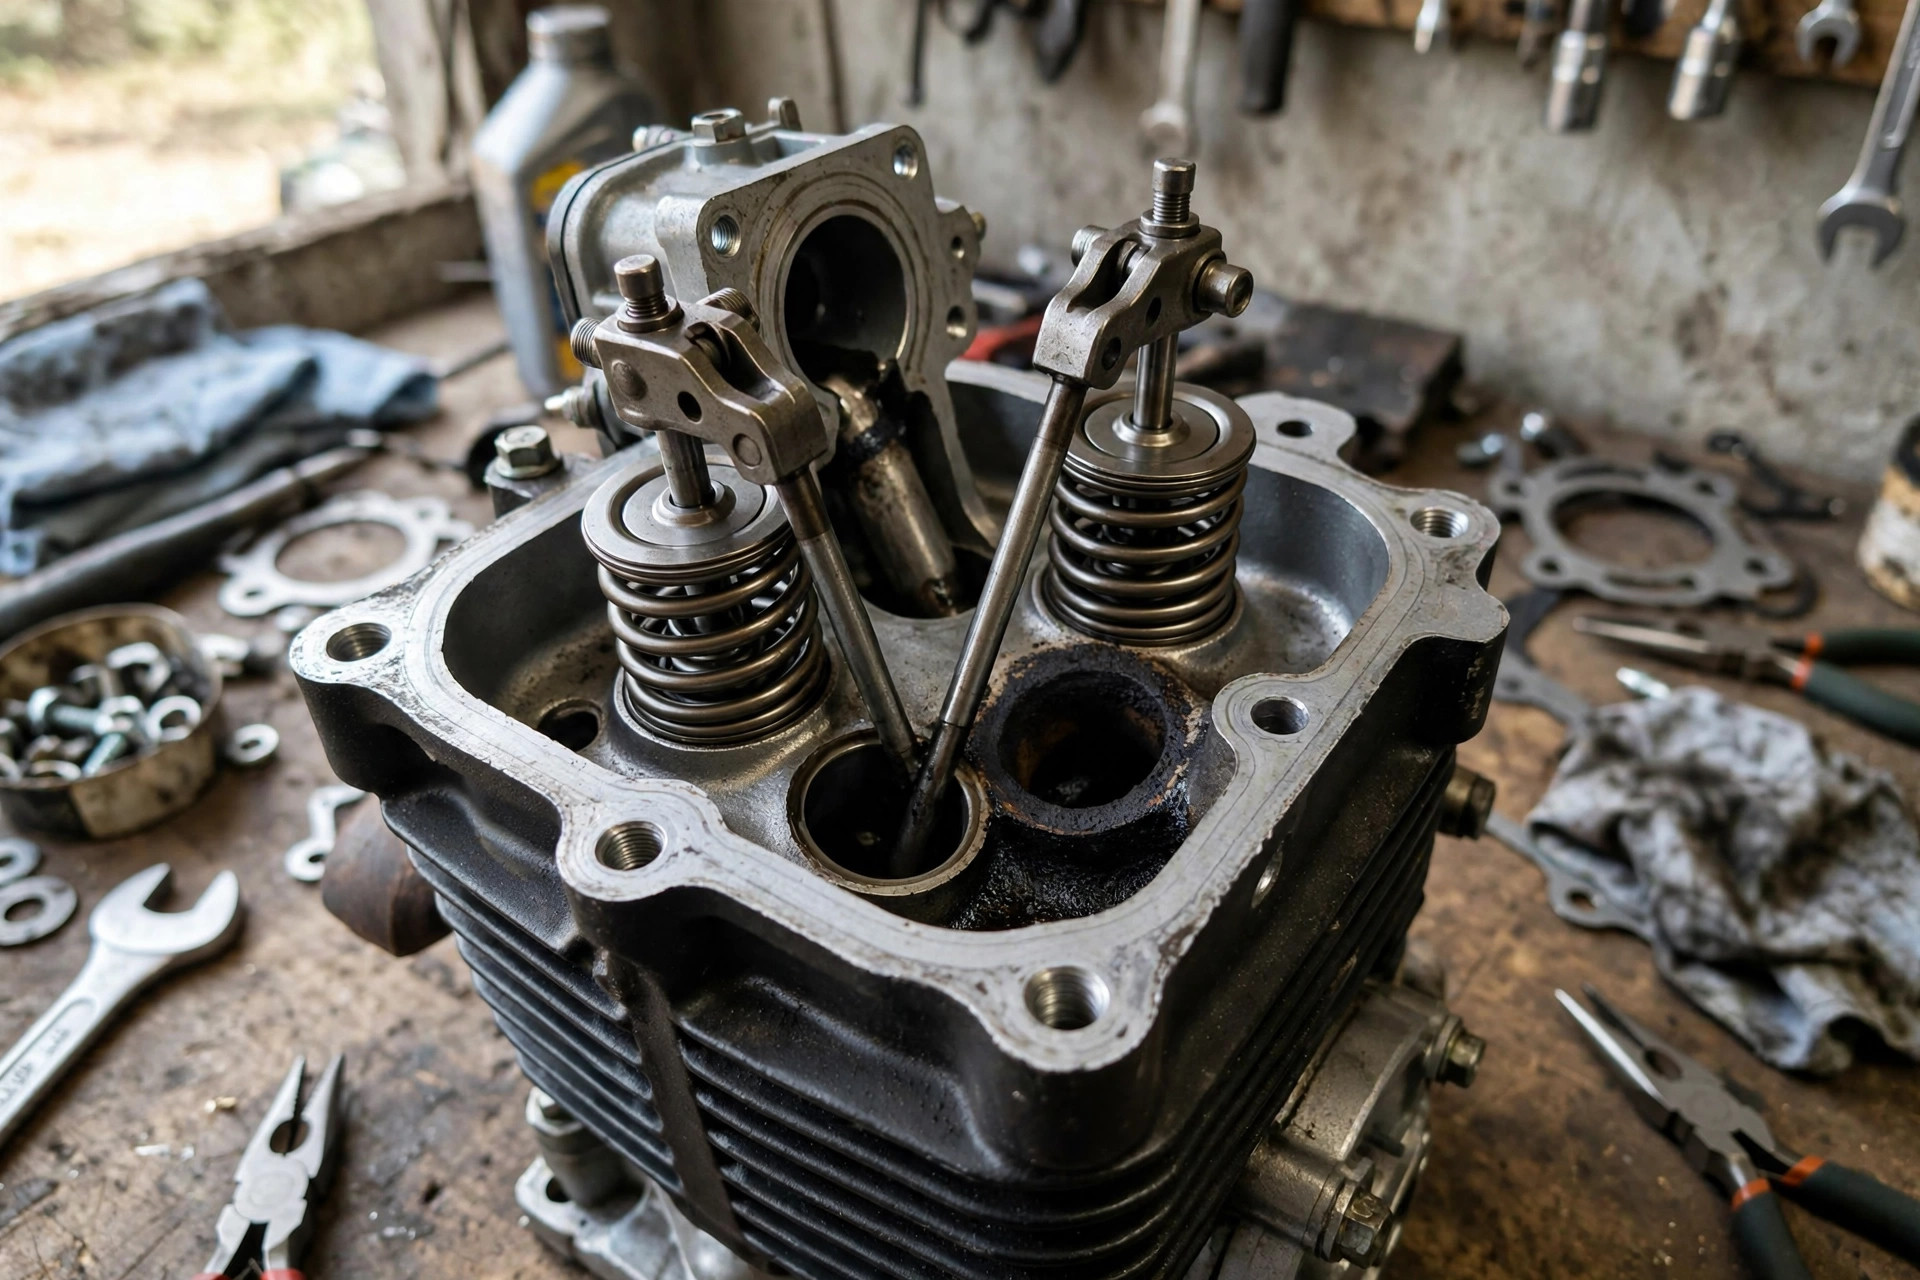
With the engine cold, pull the spark plug wire and remove the spark plug (this lets the engine turn over without compression fighting you). Unbolt the valve cover — usually four bolts on GX-pattern engines. The cover may stick; tap it gently, don’t pry hard enough to bend it. You’ll see two rocker arms, pushrods, and the valve stems.
Step 2: Find top dead center on the compression stroke
This is the step that trips people up, but it’s simple. Pull the recoil starter slowly and watch the valves:
- Watch the intake valve (near the carburetor) open and then close as you turn the engine.
- Keep turning slowly until the piston reaches the top of its travel. You’ll feel resistance build and then release as you pass TDC — or stick a clean screwdriver gently in the spark plug hole and feel the piston rise to its highest point.
- At TDC on the compression stroke, both valves are fully closed and both rocker arms feel loose (you can wiggle them slightly with your finger).
The trap: TDC also occurs on the exhaust stroke, one full turn away. If the rocker arms feel tight and spring-loaded at your “TDC,” you’re on the wrong stroke — turn the engine one full revolution and check again. Loose rockers = correct stroke.
Step 3: Measure the existing clearance
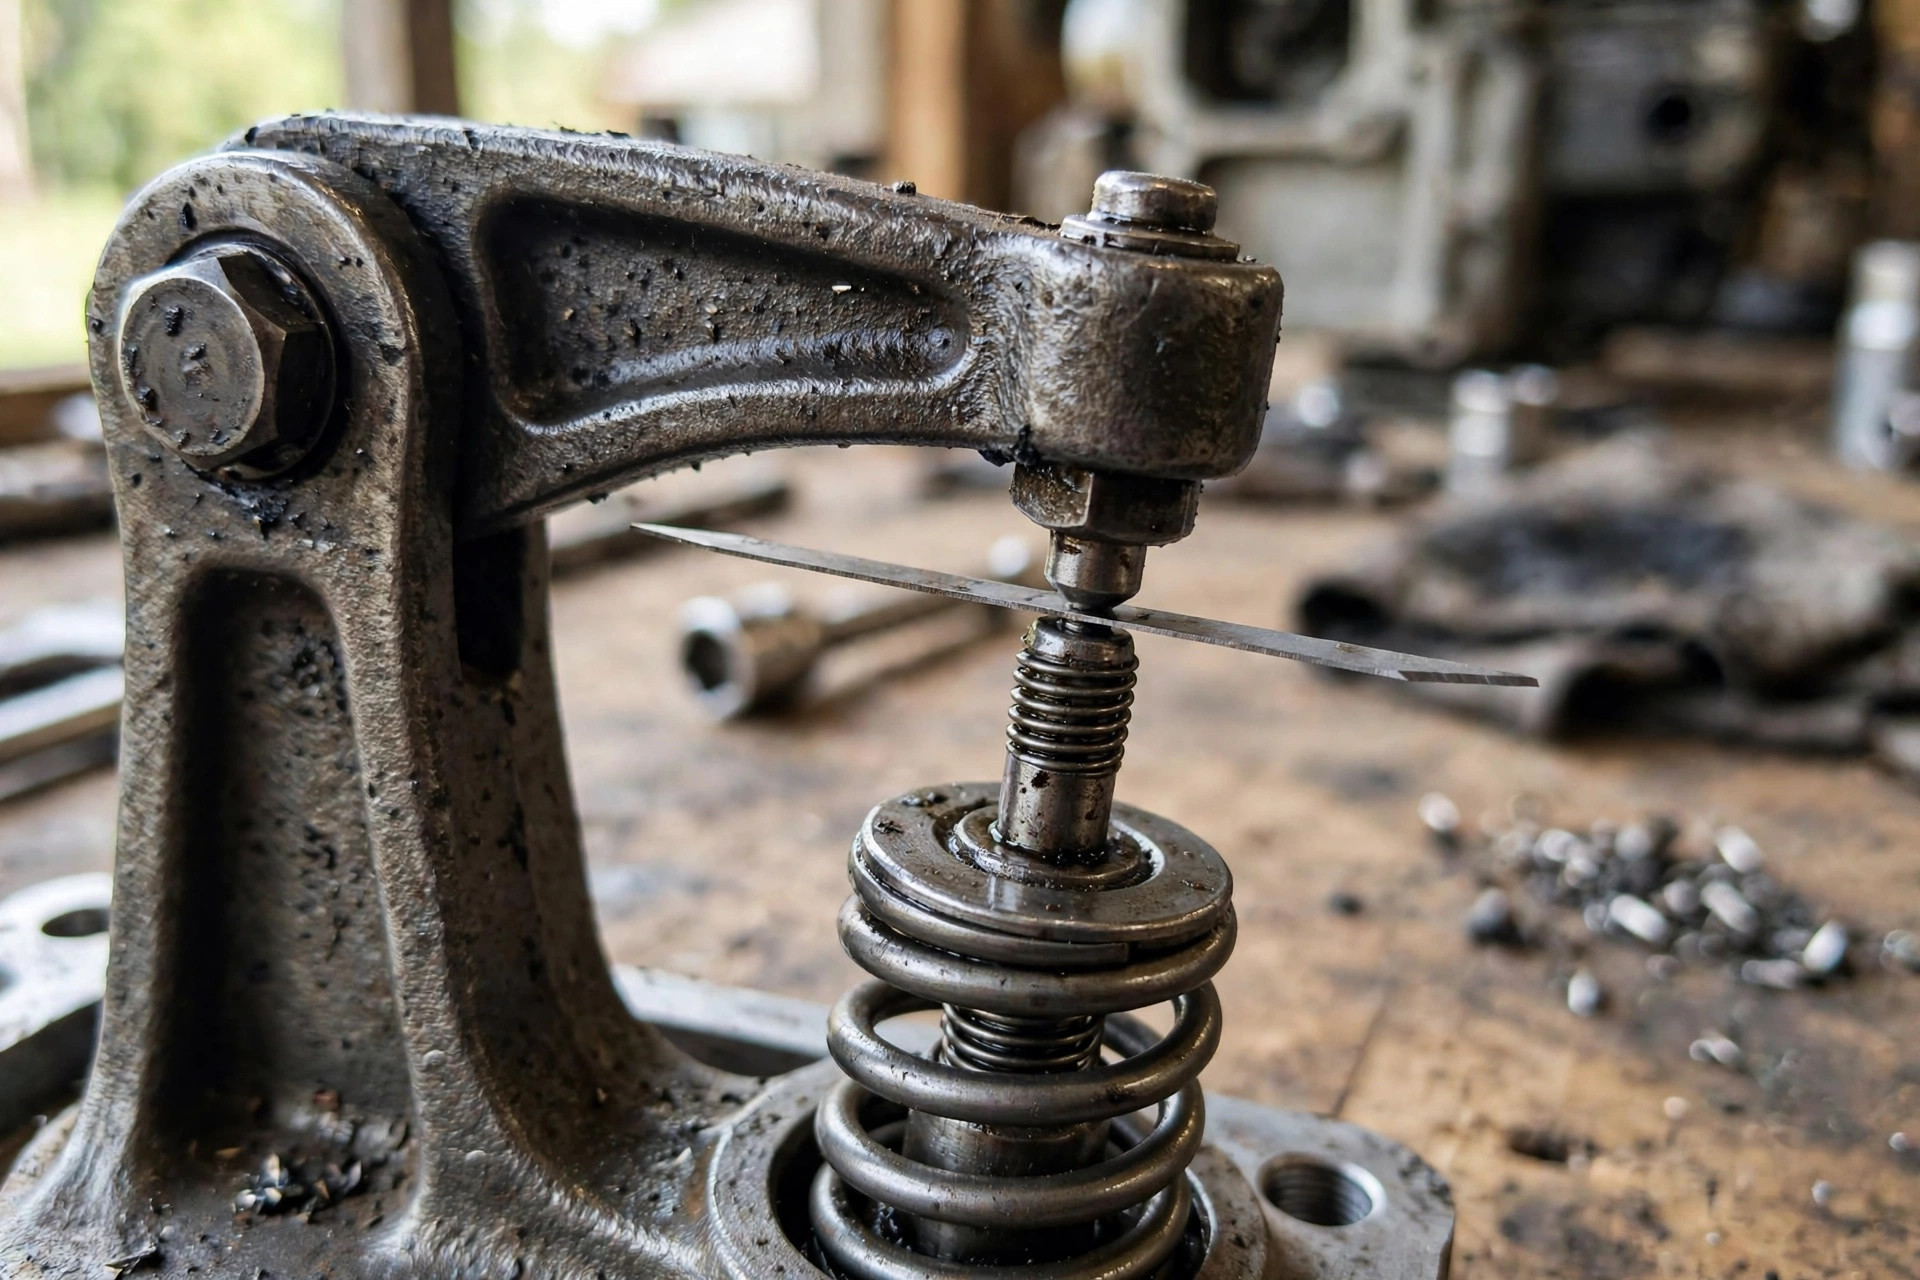
Slide the correct feeler gauge blade between the rocker arm adjusting screw and the top of the valve stem:
- Intake: 0.006″ blade should slide through with a slight drag — like pulling a sheet of paper from under a book.
- Exhaust: 0.008″ blade, same slight-drag feel.
If the 0.006″ blade won’t fit the intake, it’s too tight. If it flops through loosely, it’s too loose. Check both valves and write down what you find.
Step 4: Adjust
For each valve that needs it:
- Hold the adjusting screw steady and loosen the lock nut.
- Turn the adjusting screw: screw in to decrease clearance, screw out to increase it. Make small turns — a quarter turn moves things a lot at these tolerances.
- With the correct feeler blade in place, tighten until you feel that slight drag on the blade.
- Hold the screw in position and tighten the lock nut firmly.
Step 5: Recheck after tightening
This step is not optional. Tightening the lock nut almost always shifts the setting slightly. Re-slide the feeler gauge and confirm the drag feels right. If it moved, loosen and redo it. I usually need two tries on at least one valve — that’s normal.
Step 6: Button it up
Reinstall the valve cover (a light smear of oil on the gasket helps it seal), reinstall the spark plug, reconnect the wire. Start the engine and listen: the ticking should be gone or much quieter, and starting should feel easier.
Symptoms that point to valve lash
Not every running problem is valves, but check lash when you see:
- Hard starting, especially when hot — the classic tight-exhaust-valve symptom. The engine pulls over fine cold but refuses to start after running.
- Backfiring through the carburetor — a tight or sticking intake valve doesn’t seal, and combustion pressure pops back through the intake.
- Backfiring through the exhaust — a tight exhaust valve leaks hot combustion gas.
- Loud ticking from the valve cover — loose lash, rockers slapping.
- Gradual power loss — valves opening late and incompletely strangle the engine’s breathing.
If your generator is hard to start and you’ve already ruled out fuel, spark, and a clogged air filter, valve lash is the next place to look. Tight valves are also a common cause of backfiring through the carburetor. Our sizing calculator won’t fix a hard-starting engine — but properly set valves often will.
When to let a shop do it
Be honest with yourself: if the engine has a burned valve (zero compression, won’t start at all), adjustment won’t save it — that’s a valve job, not a lash check. And if the thought of finding TDC makes you break out in a sweat, a small-engine shop will do this service for $60-100 as part of a tune-up. There’s no shame in that. But for routine maintenance on a running engine, this is genuinely a DIY job — I did my first one from a forum post and a feeler gauge, and so can you.
What is the valve lash spec for a Honda GX390?
How do I know if my generator valves need adjusting?
Do you adjust valves on a hot or cold engine?
What happens if valve lash is too tight?
Which valve is intake and which is exhaust?
Valve adjustment sounds like engine-builder territory, but it’s really just measuring a gap and turning a screw. Do it once a year, keep the specs written on a piece of tape inside the generator’s maintenance panel, and your engine will start easier and run stronger for thousands of hours.

Related Guides
Why Does My Generator Backfire? Causes and Fixes (2027)
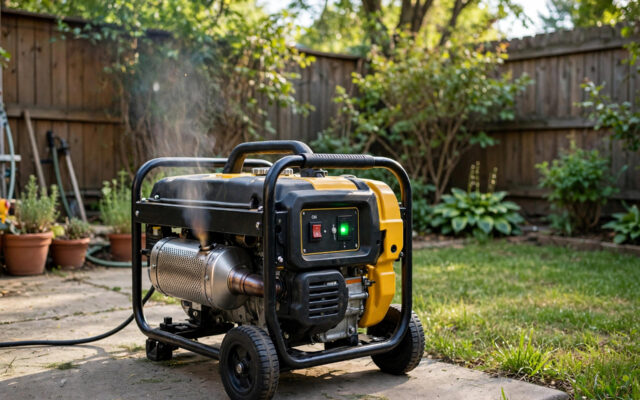
Why does your generator backfire? An exhaust bang means unburned fuel in the muffler; a pop through the carb means lean mixture or valve trouble. Here are the fixes.


How to Clean and Replace a Generator Air Filter (2027 Guide)
How to clean a generator air filter: wash foam filters in soapy water and re-oil; tap out paper filters, never wash them. Full steps inside.
What Size Generator Do You Need for an Electric Water Heater?
A 4,500W electric water heater needs a 5,500–6,500W generator minimum — and most owners skip it. The 125% rule, why the tank coasts, and smarter alternatives.