


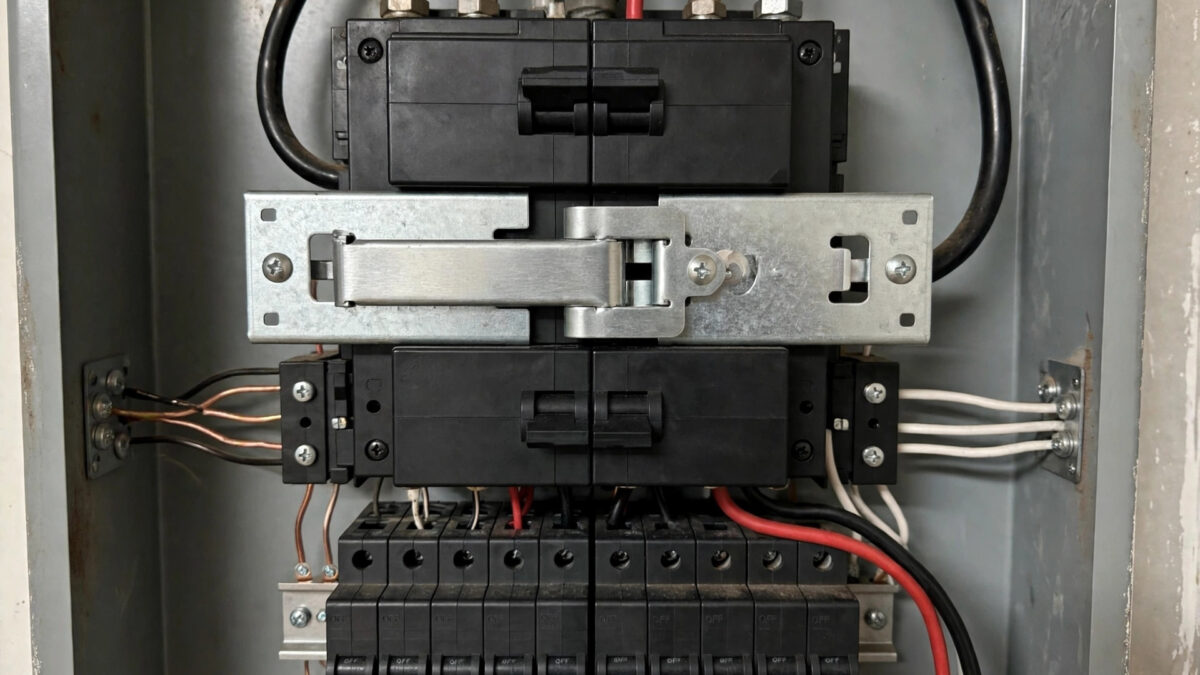
A generator interlock kit is a sliding metal plate that mounts on your breaker panel cover and physically prevents your main breaker and generator breaker from being ON at the same time. Installing one involves: identifying your panel brand, buying a UL-listed kit made for that panel, getting a permit, killing power, relocating breakers to free the top slots, mounting the plate, drilling the panel cover, installing a dedicated generator breaker with a retainer clip, and wiring it to your exterior inlet box.
Most handy homeowners can do this in 45–90 minutes. But read the safety section before you decide — the main lugs stay live even with the main breaker off, and your jurisdiction may require a licensed electrician regardless of your skill level. When in doubt, hire it out: electricians typically charge $200–$300 for this install.
Key takeaways
- An interlock kit is the cheapest legal way to connect a portable generator: $50–$150 for the kit.
- Buy a kit made for YOUR panel brand and model (Square D, Eaton, Siemens, GE) — universal kits are a gamble.
- The main lugs stay LIVE with the main breaker off — this is the danger most DIYers underestimate.
- A permit and inspection are required in most jurisdictions; some require a licensed electrician.
- You need an exterior inlet box and a generator breaker with a retainer clip (NEC 408.36(D)).
- Test the interlock mechanically before energizing: both breakers must never be ON together.
How an Interlock Kit Works
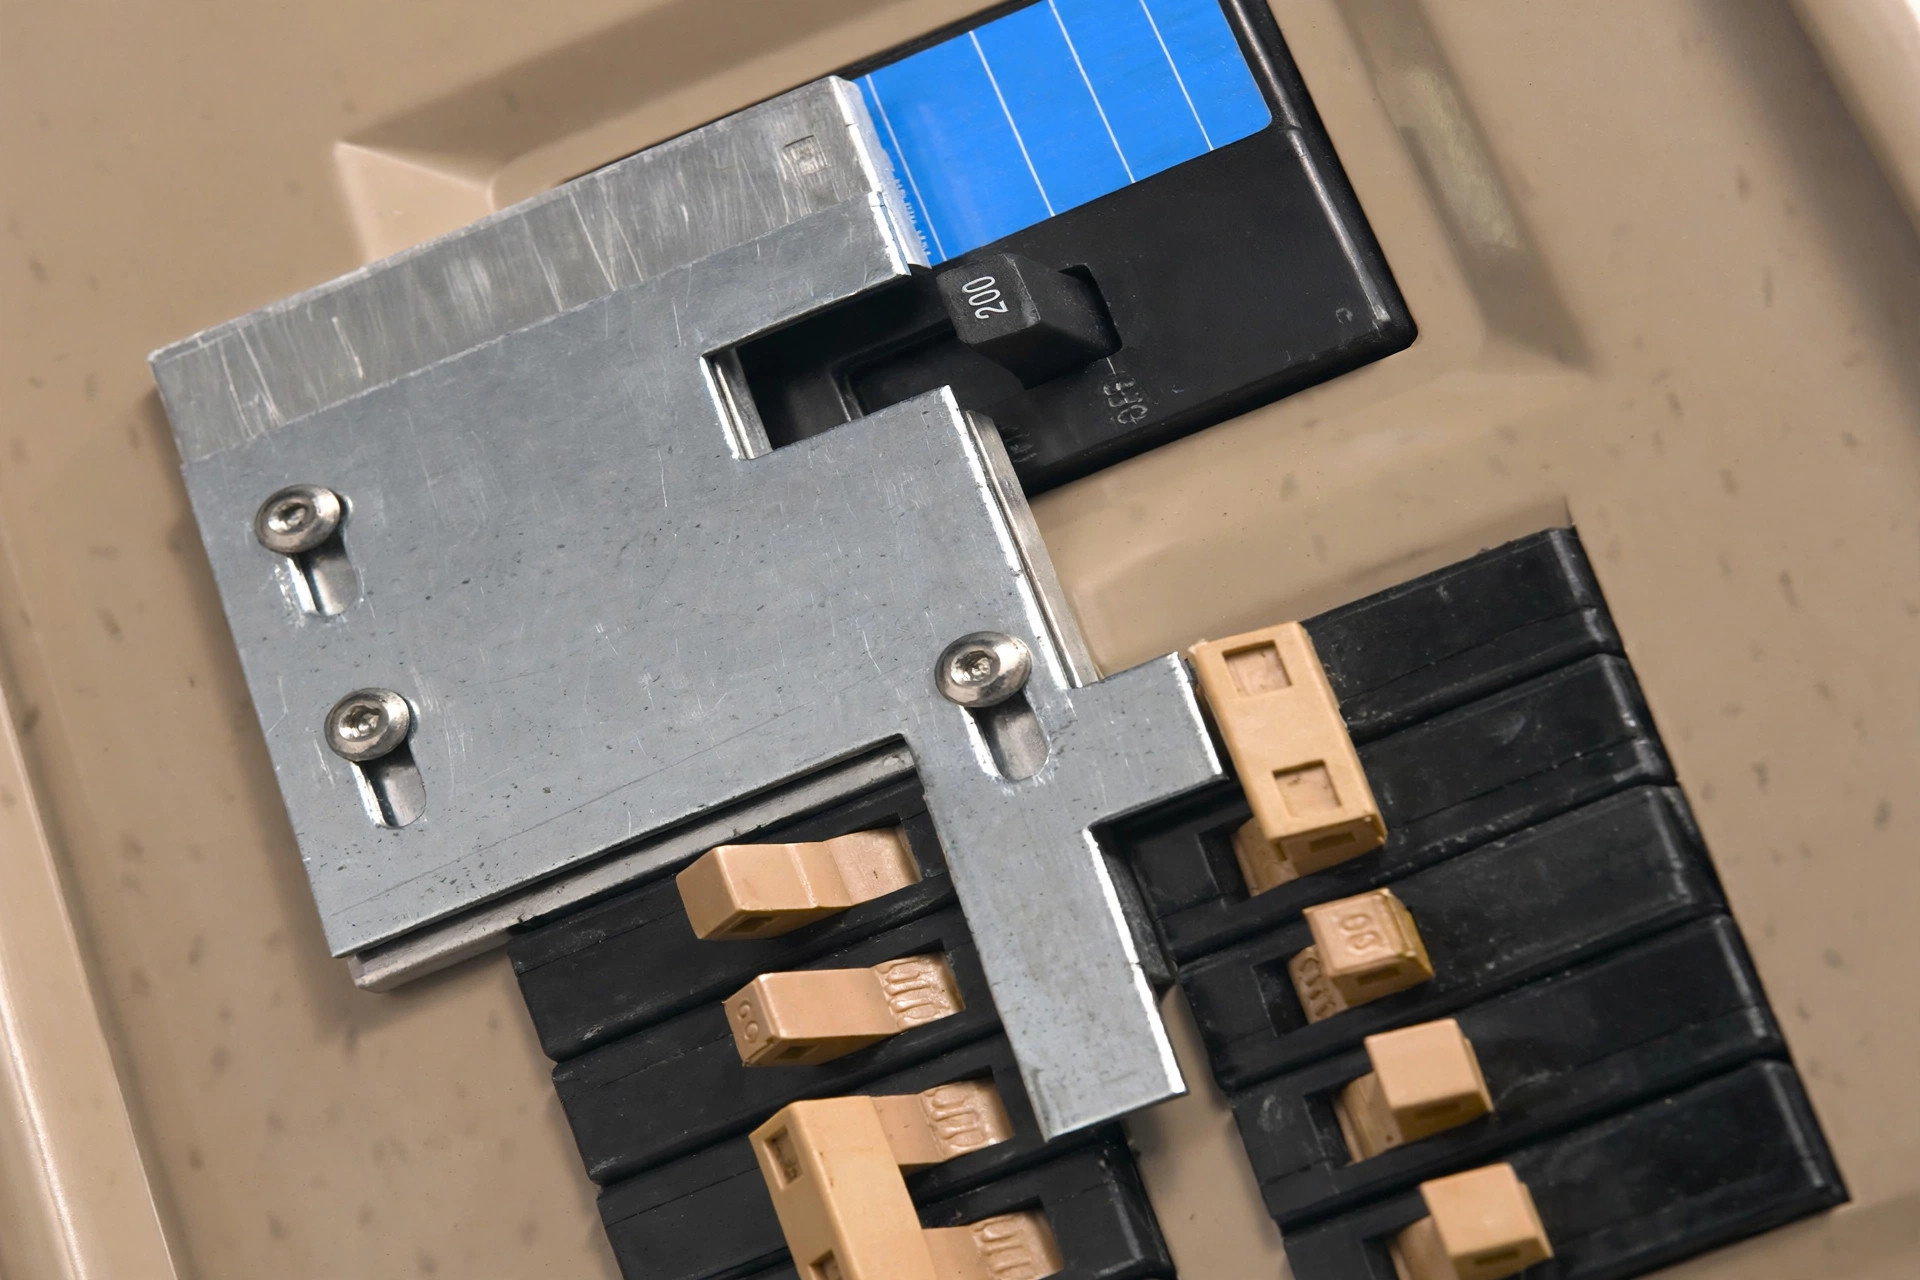
The kit is two sliding metal plates that bolt to the inside of your panel’s dead-front cover. In the DOWN position, the plate blocks the generator breaker (keeping it OFF) and allows the main breaker to be ON. Slide it UP, and it blocks the main breaker (forcing it OFF) while freeing the generator breaker. Mechanical, simple, impossible to defeat without removing the cover.
This satisfies NEC Article 702’s core requirement for optional standby systems: the generator must be isolated from the utility grid. No backfeed, no energized utility lines, no dead lineworkers. It’s the same protection a transfer switch provides, at a fraction of the cost — the trade-off is that you manage which circuits are on, via the panel’s existing breakers.
What You’ll Need
- Interlock kit listed for your exact panel — brand (Square D QO/Homeline, Eaton BR/CH, Siemens, GE), main breaker amperage (100/150/200A), and the spacing between the main and the generator breaker position. Measure twice; kits are not interchangeable across brands.
- Double-pole generator breaker matching your panel and inlet amperage (30A for most setups).
- Breaker retainer clip — required by NEC 408.36(D) for any backfed breaker. It screws the generator breaker to the bus so it can’t loosen.
- Exterior inlet box (see our inlet box installation guide) wired with 10 AWG (30A) or 6 AWG (50A).
- Tools: insulated screwdrivers, drill with the bit specified in the kit instructions, non-contact voltage tester, headlamp. A torque screwdriver if you want to do it right.
- Permit from your local building department — call before you start.
Step-by-Step Installation
Step 1: Kill the power and verify
Turn off the main breaker. Then verify with a non-contact voltage tester that the branch bus bars are dead. Remember: the main lugs at the top are STILL LIVE. Plan every hand movement to stay clear of them. Wear safety glasses — you’re drilling metal near live parts.
Step 2: Free up the top breaker slots
The generator breaker goes in the top two slots of the column adjacent to the main (usually slots 2 and 4). Move whatever breakers are there to lower slots. If the panel is full, you may need tandem/quad breakers to consolidate — check your panel’s labeling for whether tandems are allowed in those positions.
Step 3: Install the generator breaker and retainer
Seat the double-pole generator breaker in the freed slots and install the retainer clip per the kit instructions. The retainer is a code requirement, not optional hardware — a backfed breaker without one can walk off the bus over time from thermal cycling.
Step 4: Mount the interlock plates
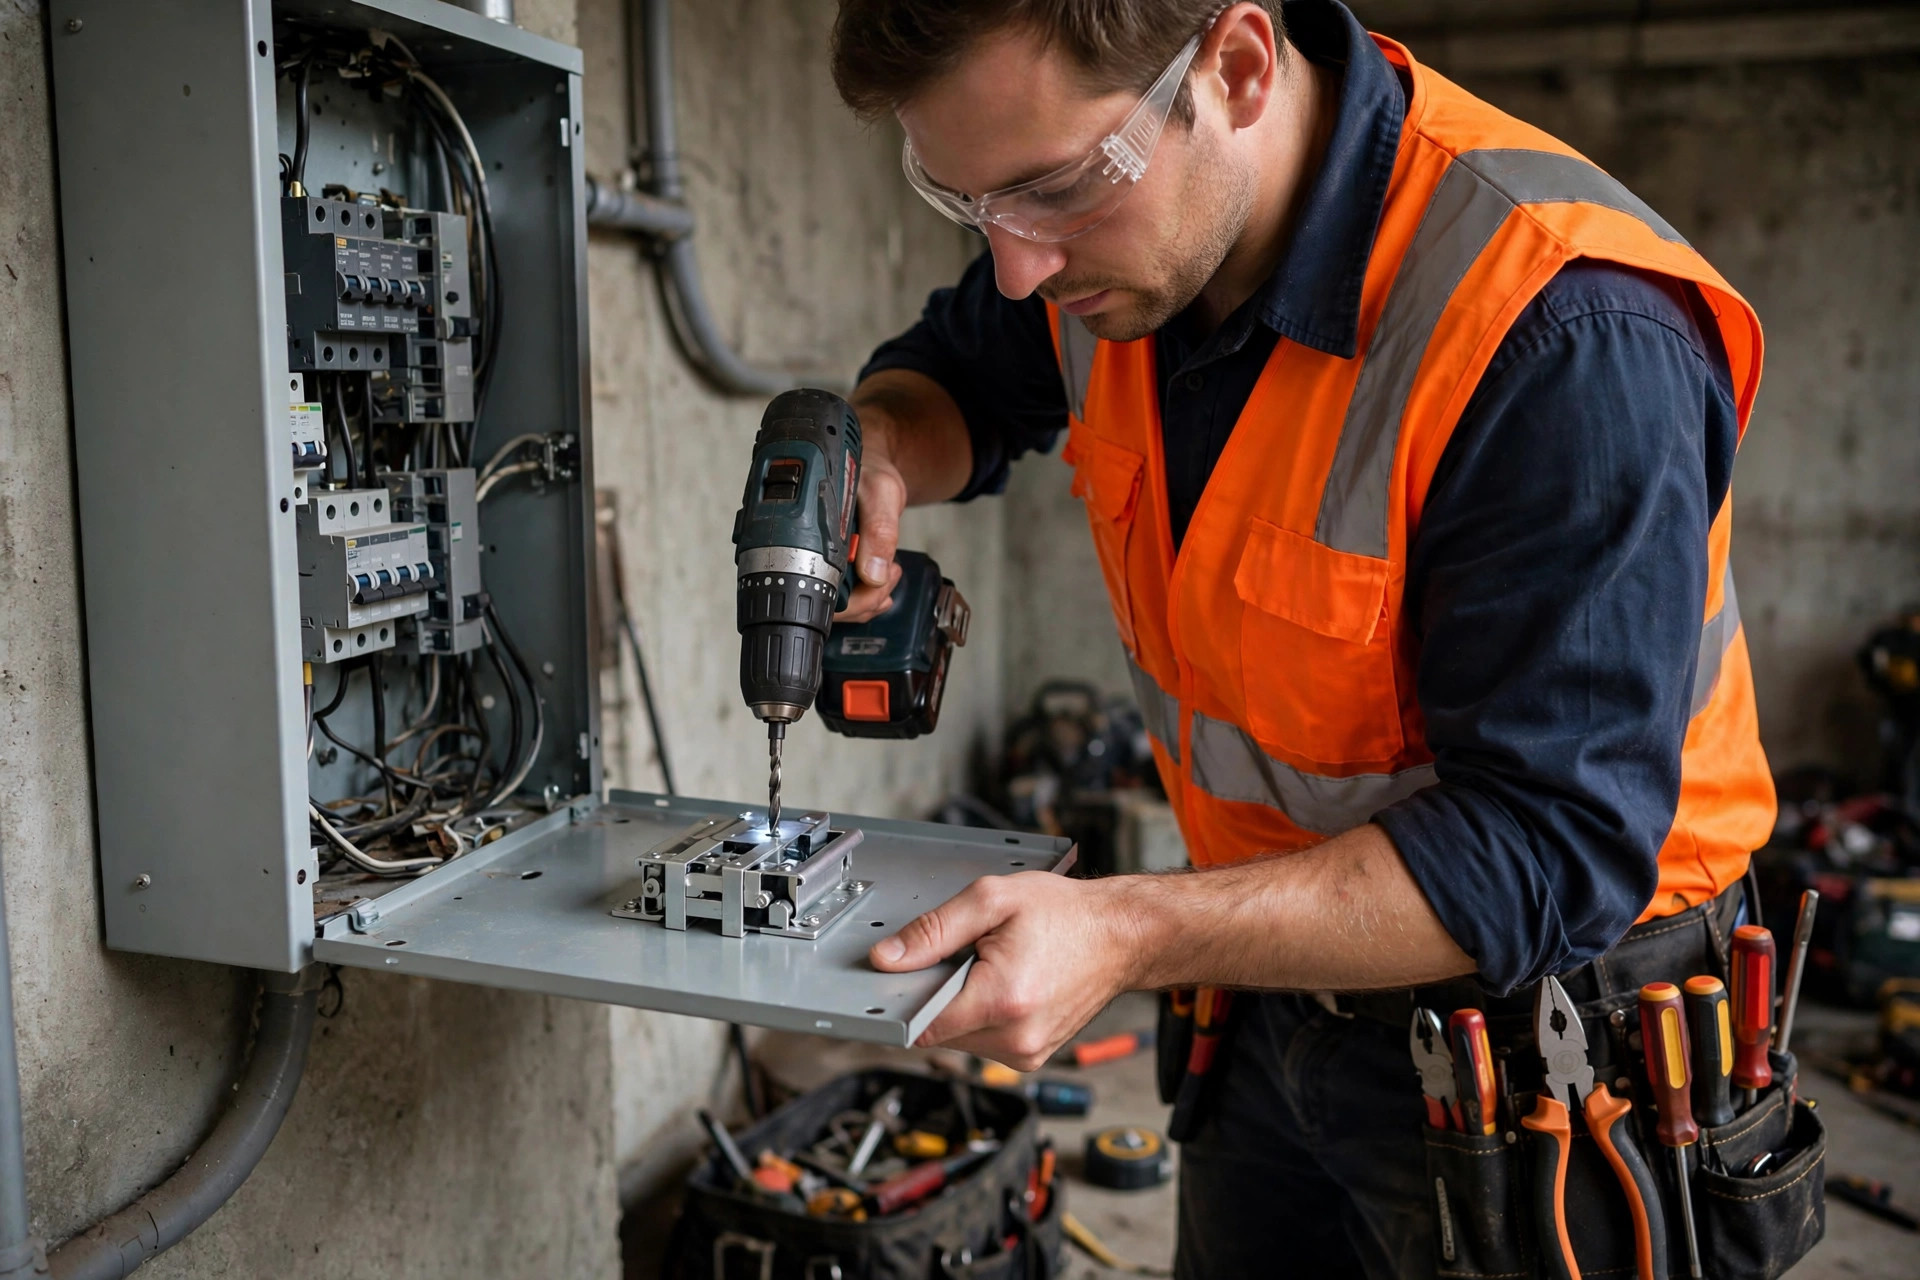
With the panel cover removed, position the kit’s back plate against the inside of the cover, aligned with the main and generator breaker openings. The kit instructions give exact placement — follow them, not your intuition. Mark the drill points, drill the cover (a step bit works well on the thin steel), and bolt the plates on.
Step 5: Reinstall the cover and test the mechanism
Put the cover back on and work the interlock by hand, power still off. Verify: main ON → generator breaker physically blocked from turning on. Generator breaker ON → main physically blocked. If either breaker can be forced on with the other on, the plate is misaligned — fix it now, not later.
Step 6: Wire the inlet to the generator breaker
Run the inlet box wiring (through conduit) into the panel and land the two hots on the generator breaker, neutral on the neutral bar, ground on the ground bar. Torque to spec. Double-check that the generator breaker is OFF and the interlock is in the main-ON position.
Step 7: Energize, test under load, get inspected
Turn the main back on. Verify normal operation. Then do a full drill: main OFF, slide interlock, plug in the generator (outside, 20+ feet from the house), start it, generator breaker ON, and power a few circuits. Confirm voltage is correct and the interlock blocks the main. Then schedule your inspection.
How to Use It During an Outage
The routine, in order: (1) roll the generator outside, 20+ feet from the house; (2) plug the cord into the inlet box; (3) start the generator and let it stabilize ~30 seconds; (4) go inside, turn OFF all branch breakers; (5) turn the main breaker OFF; (6) slide the interlock up; (7) turn the generator breaker ON; (8) turn on branch breakers one at a time, starting with the biggest motor loads — this staggers the starting surges instead of stacking them.
When utility power returns: reverse it. Generator breaker OFF, slide interlock down, main ON, branch breakers on one at a time, then shut down the generator and unplug. Tape these steps inside the panel door — future-you at 2 AM will be grateful.
Plan which breakers to turn on using our essential circuits guide — with an interlock, you choose circuits live at the panel rather than pre-wiring them, which is the kit’s big flexibility advantage over a manual transfer switch.
Interlock Kit vs. Manual Transfer Switch
| Interlock kit | Manual transfer switch | |
|---|---|---|
| Hardware cost | $50–$150 | $250–$400 |
| Installed cost | $250–$450 | $500–$900 |
| Circuit selection | Any breaker in the panel | Pre-wired 6–10 circuits only |
| Load management | You flip breakers | You flip toggles |
| Code acceptance | Most jurisdictions (verify locally) | Universal |
| Best for | Budget installs, flexible circuits | Simplicity, renters of the routine |
The interlock wins on cost and flexibility. The transfer switch wins on simplicity — pre-wired circuits with labeled toggles are easier for a spouse or teenager to operate correctly at midnight. A few jurisdictions and a few panel types don’t accept interlocks, so verify with your local inspector before buying the kit. Our manual vs. automatic transfer switch guide covers the broader decision.
Are generator interlock kits legal?
How much does it cost to install a generator interlock kit?
Can I install a generator interlock kit myself?
What size breaker do I need for a generator interlock?
Is an interlock kit as safe as a transfer switch?
An interlock kit is the best value in home backup power — under $500 installed for a code-compliant whole-panel connection. Just respect the two things that make it serious: the live lugs during installation, and the permit. Get an electrician if either gives you pause, test the mechanism before you need it, and run your first full drill on a calm Saturday — not during the storm.

Related Guides
Do You Need a Panel Upgrade for a Generator? (2027 Guide)
Do you need a panel upgrade for a generator? Usually not — an interlock kit and two free breaker spaces handle a portable. Here is when an upgrade is truly required.

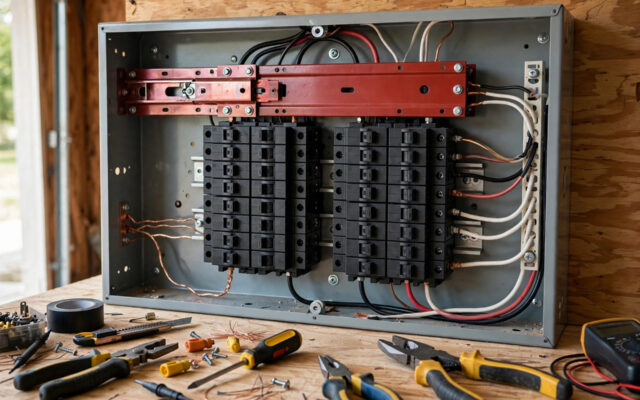
Transfer Switch vs Interlock Kit: Which Is Better in 2027?
Transfer switch vs interlock kit: both legally connect a generator to your house. Compare costs ($400–$1,300 vs $400–$850), flexibility, ease of use, and code rules.
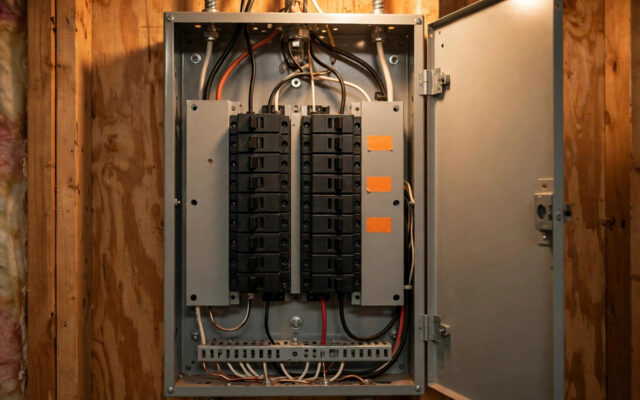
Essential Circuits to Back Up With a Generator
Back up these first: fridge, sump pump, well pump, furnace blower, lights, internet. Total: 3,000-5,000W. Full priority tiers with wattages.